Electronics and Wiring
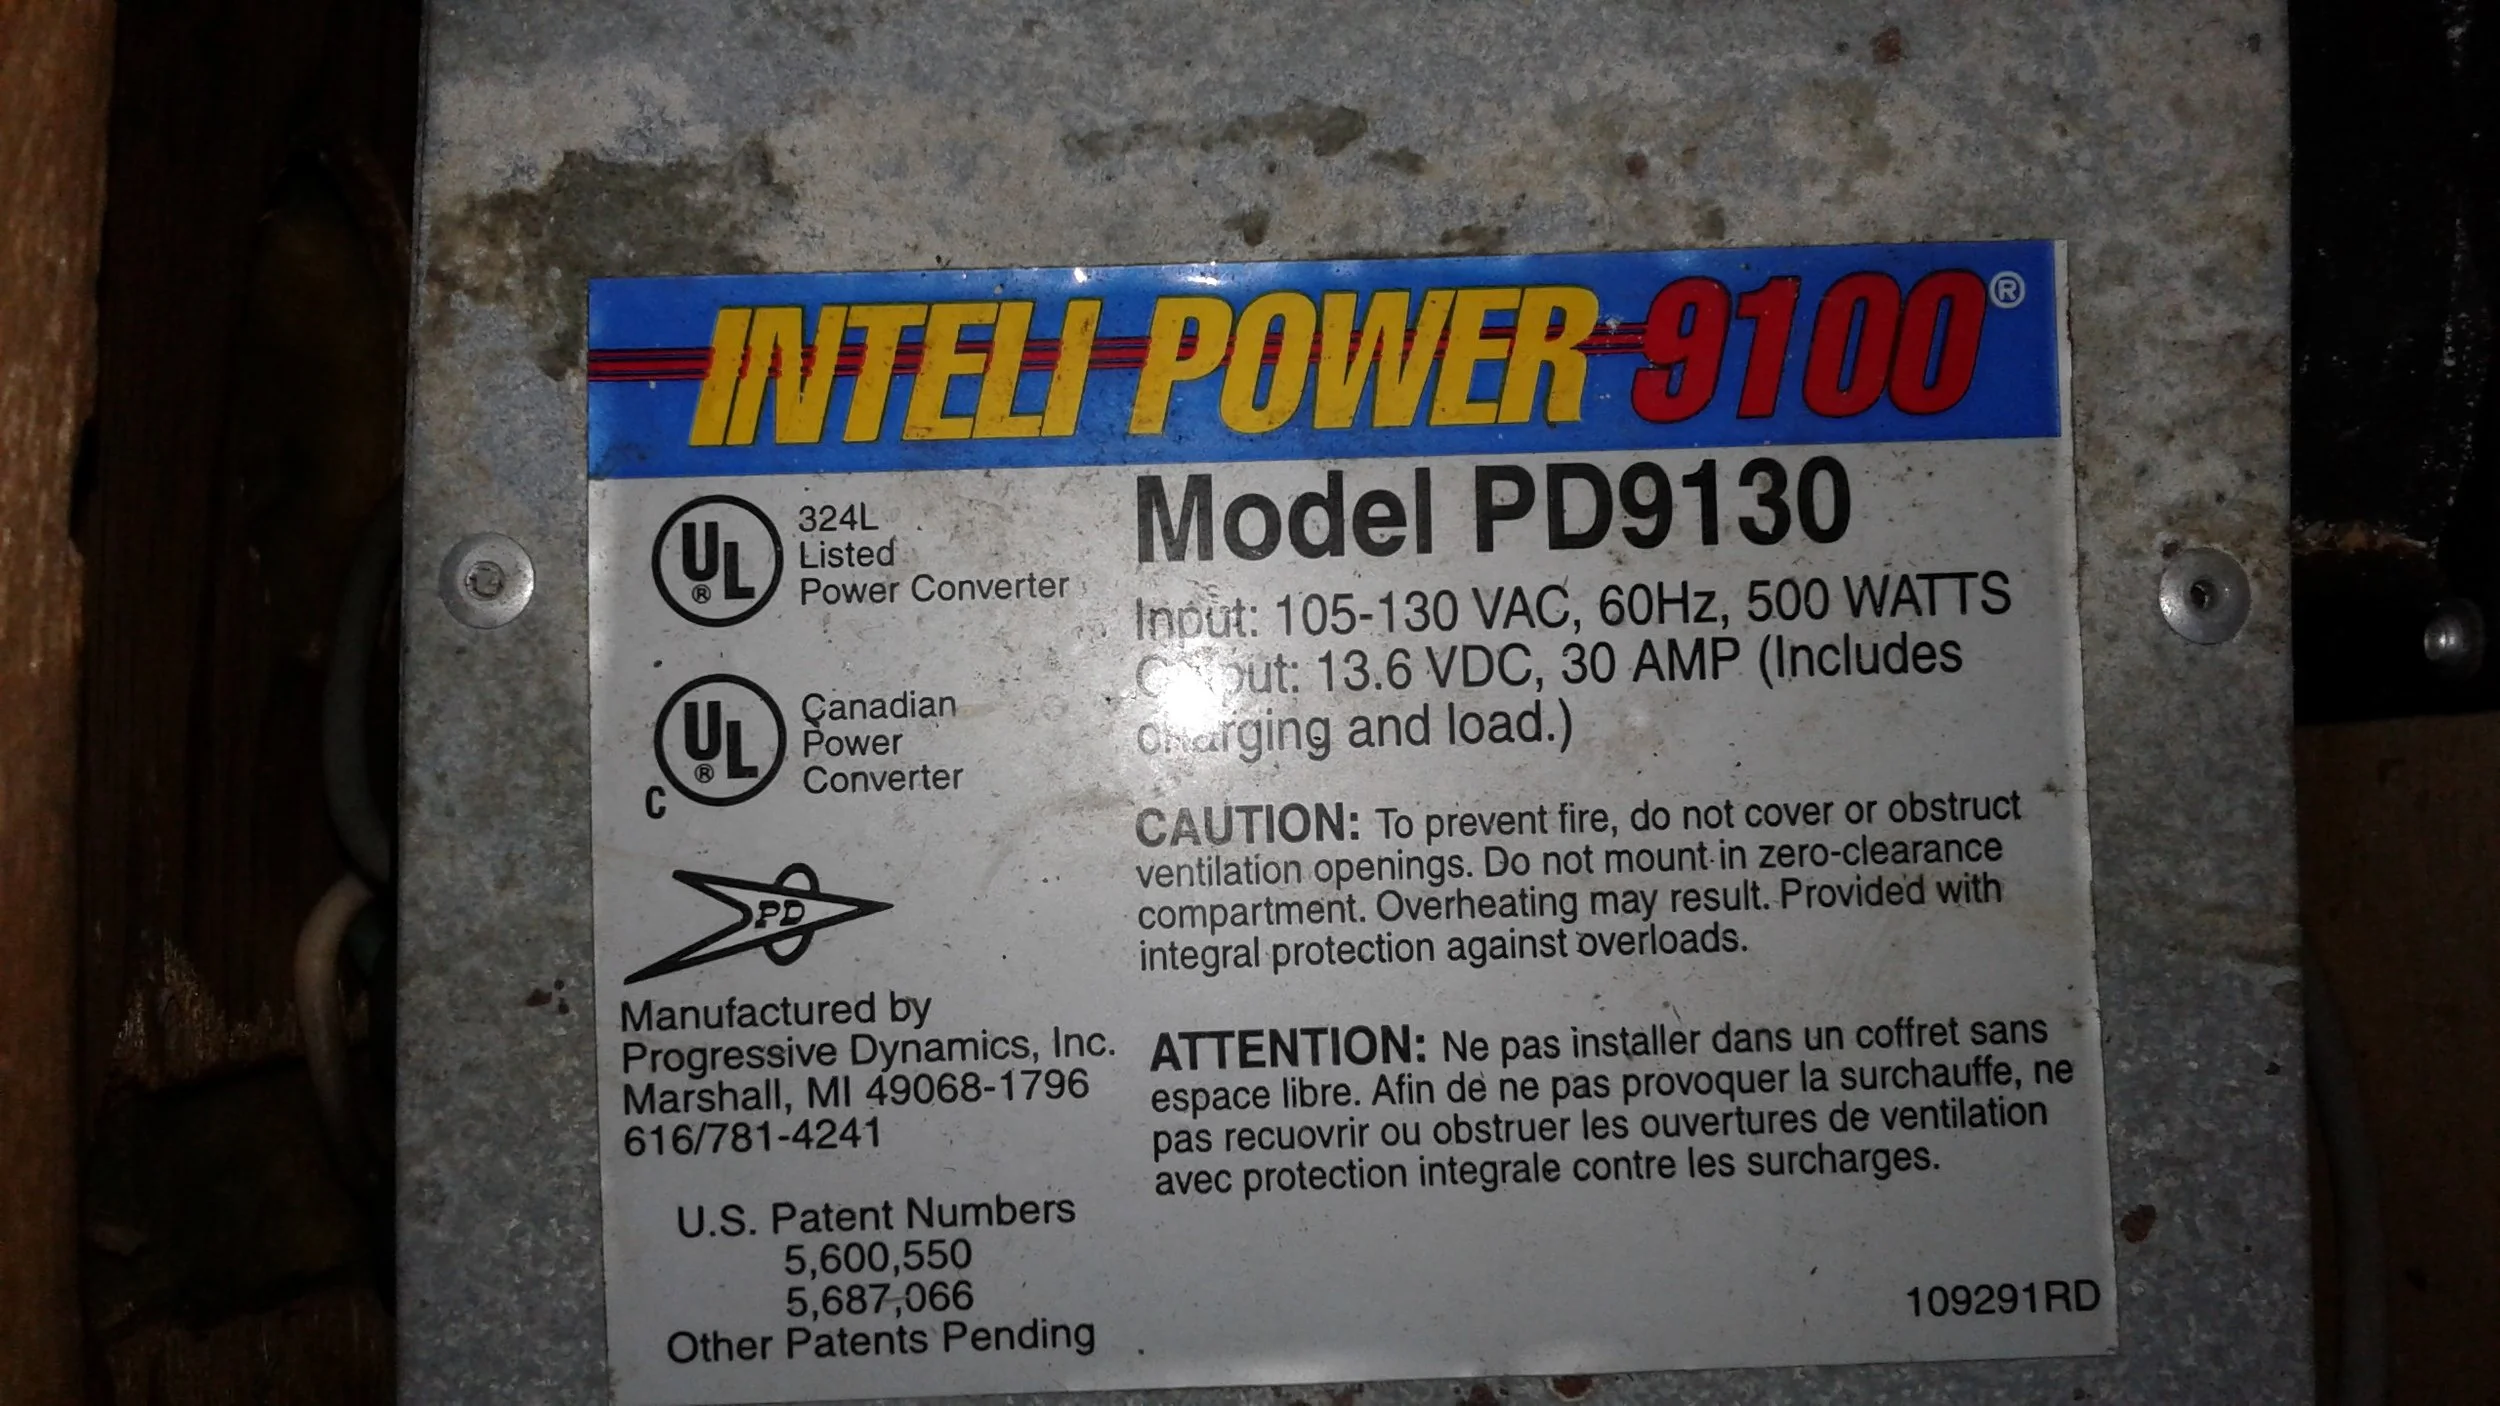
The old Shore Power charger 025

The old Shore Power charger 026 I opted for an Iota unit with a smart controller for Gel batteries. I also picked up a Lithium controller because I knew I would be upgrading shortly.

The Iota charger, Progressive EMS-HW30C are mounted behind the Shore Panel breaker box on Aluminum panels 027

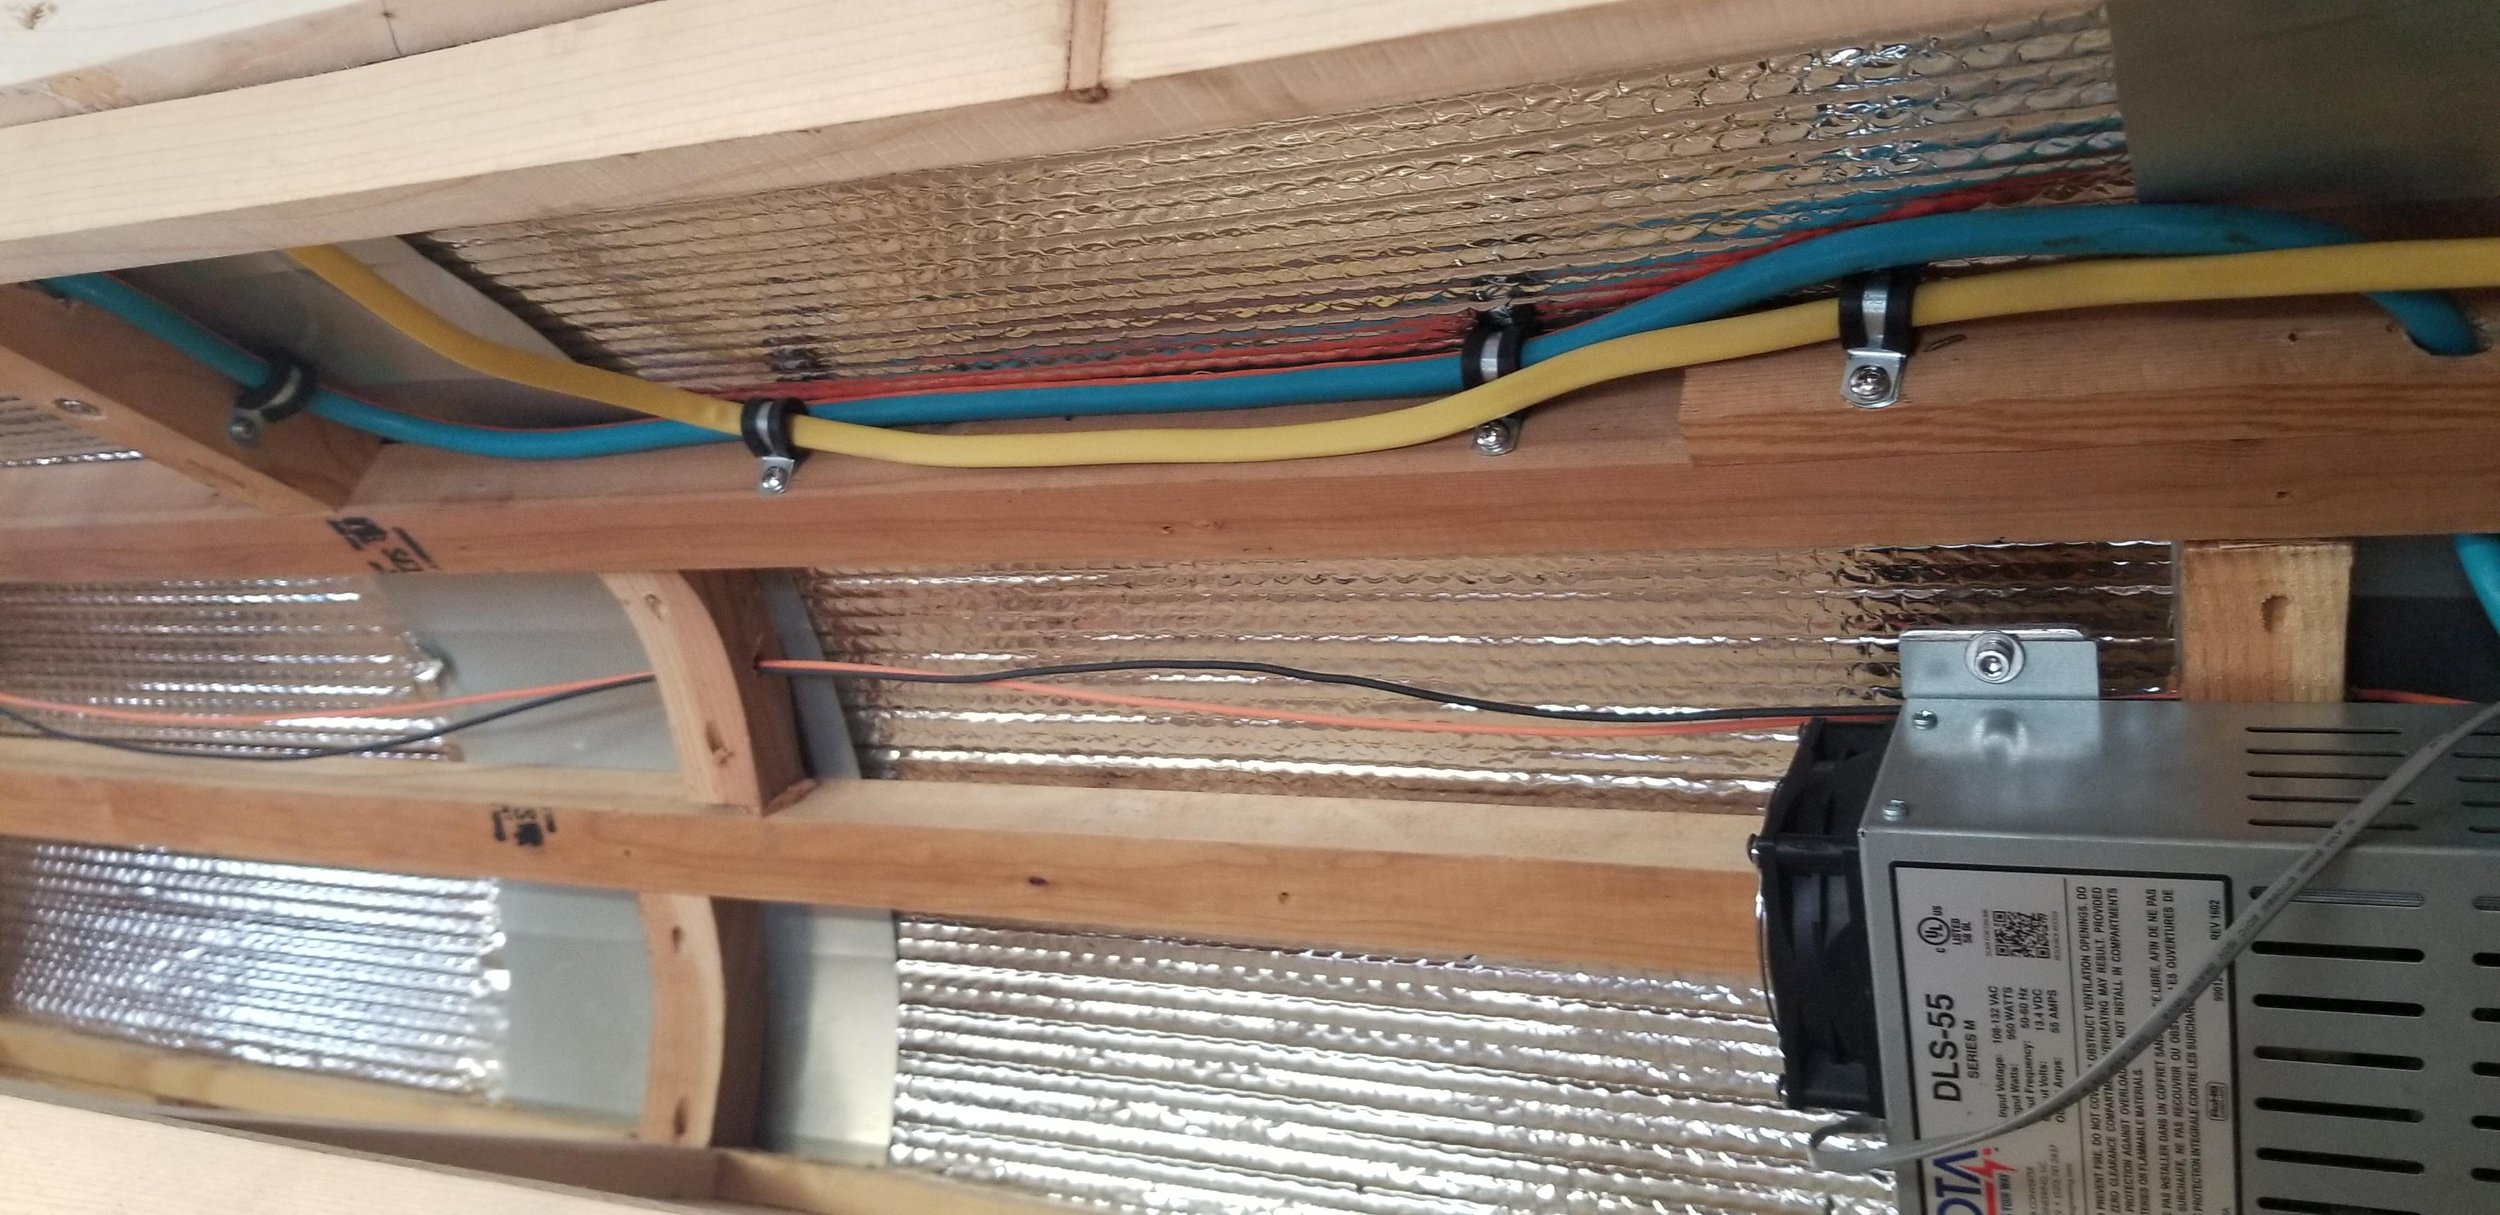
The Iota DLS-55 Amp Shore Power Charger and Air Conditioning wiring (shore power) 028

The Iota DLS-55 Amp Shore Power Charger and Air Conditioning wiring (shore power) 029
The Air Conditioning wiring (shore power) secured 030
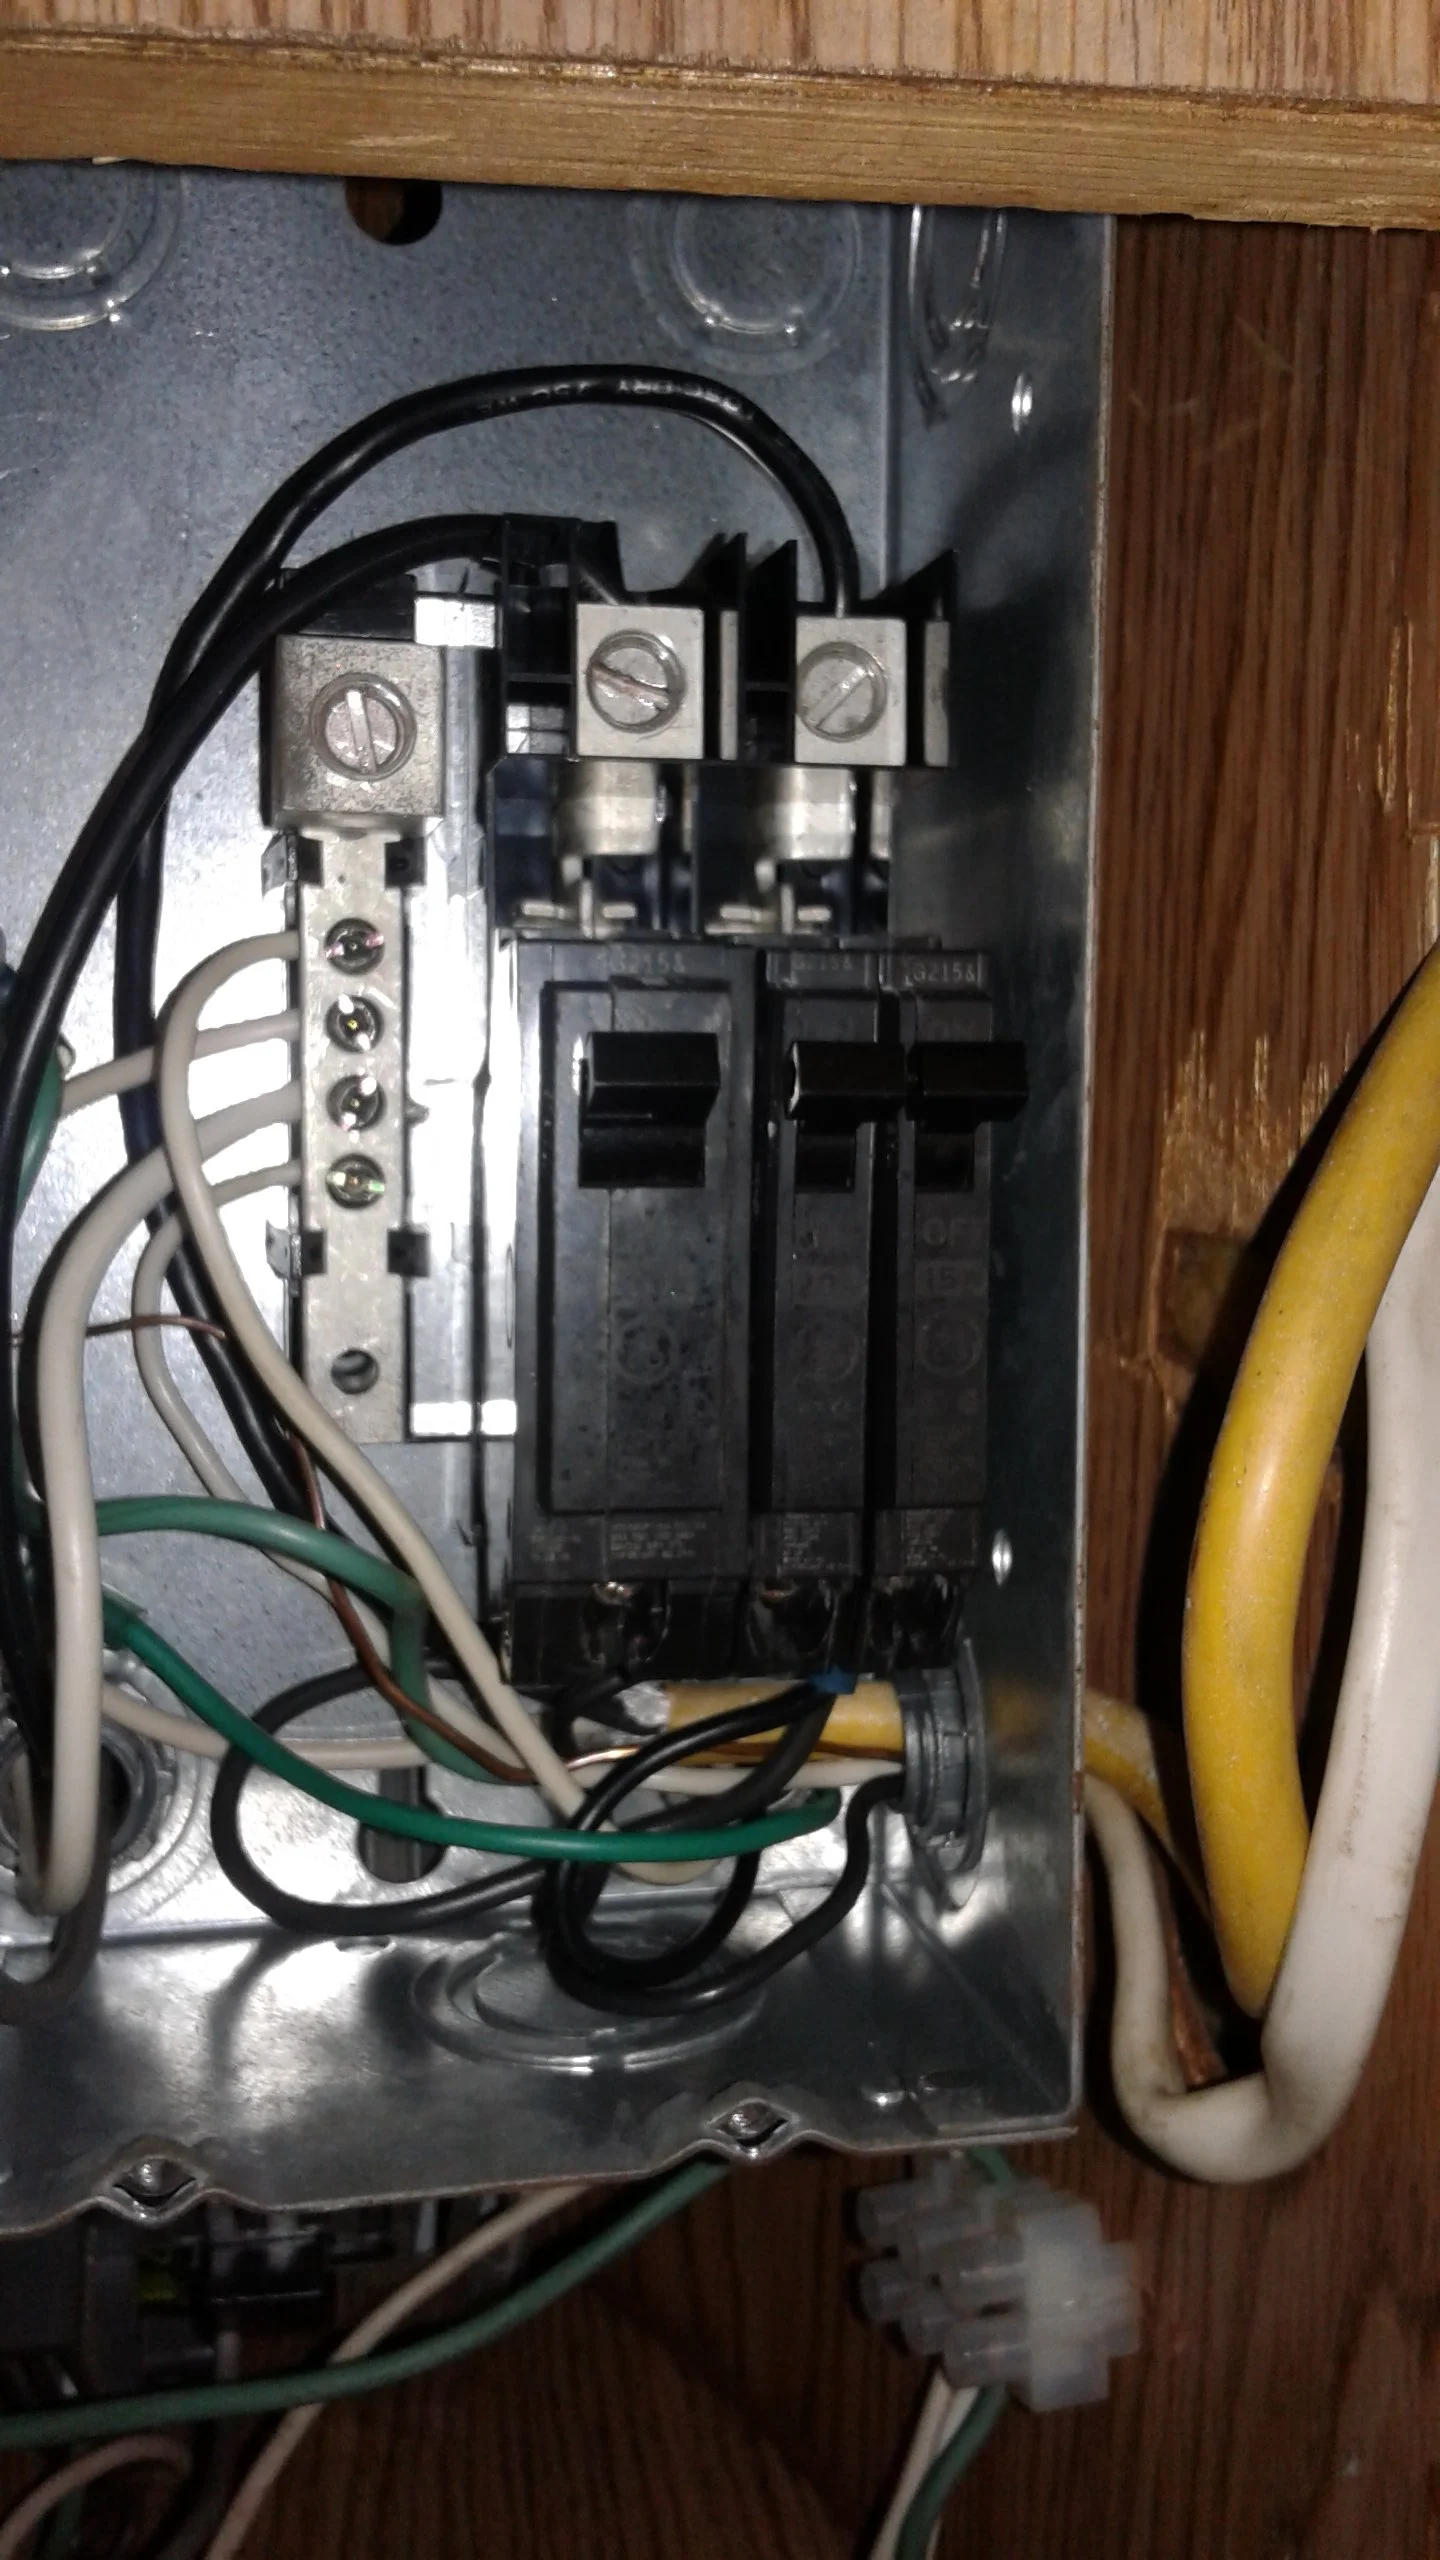
Shore Power breaker panel 031
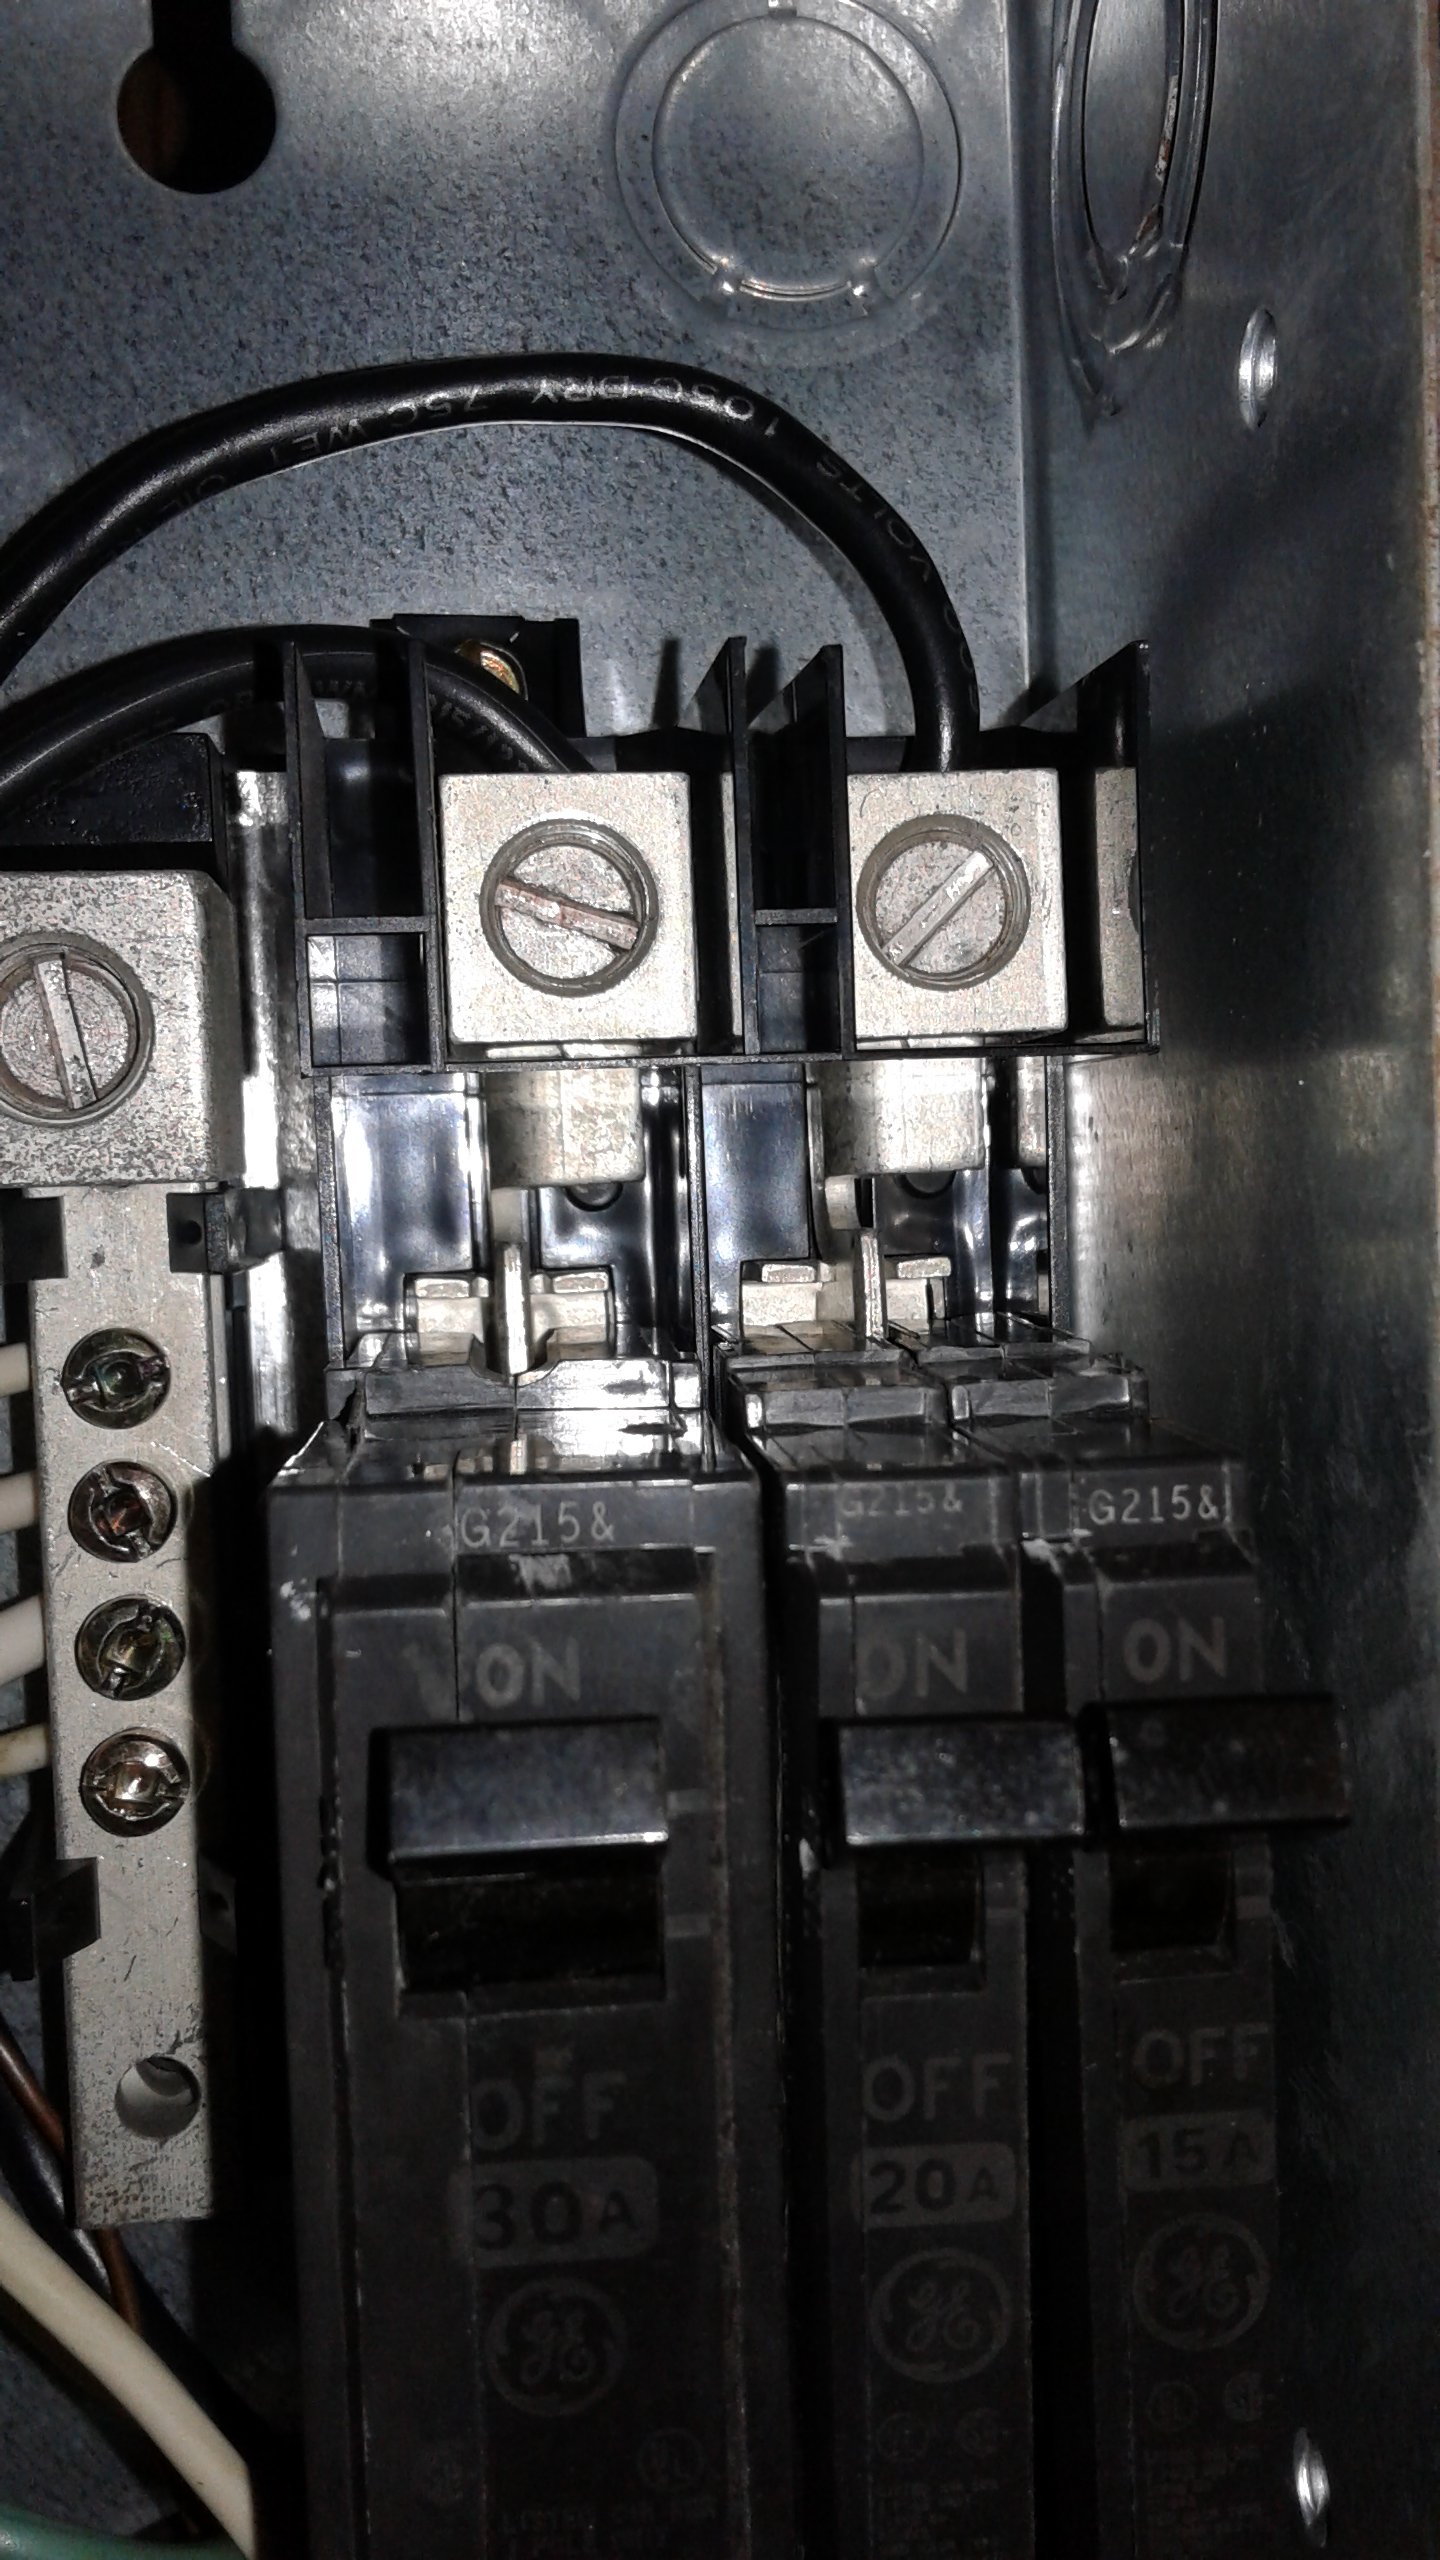
Shore Power breaker panel 032
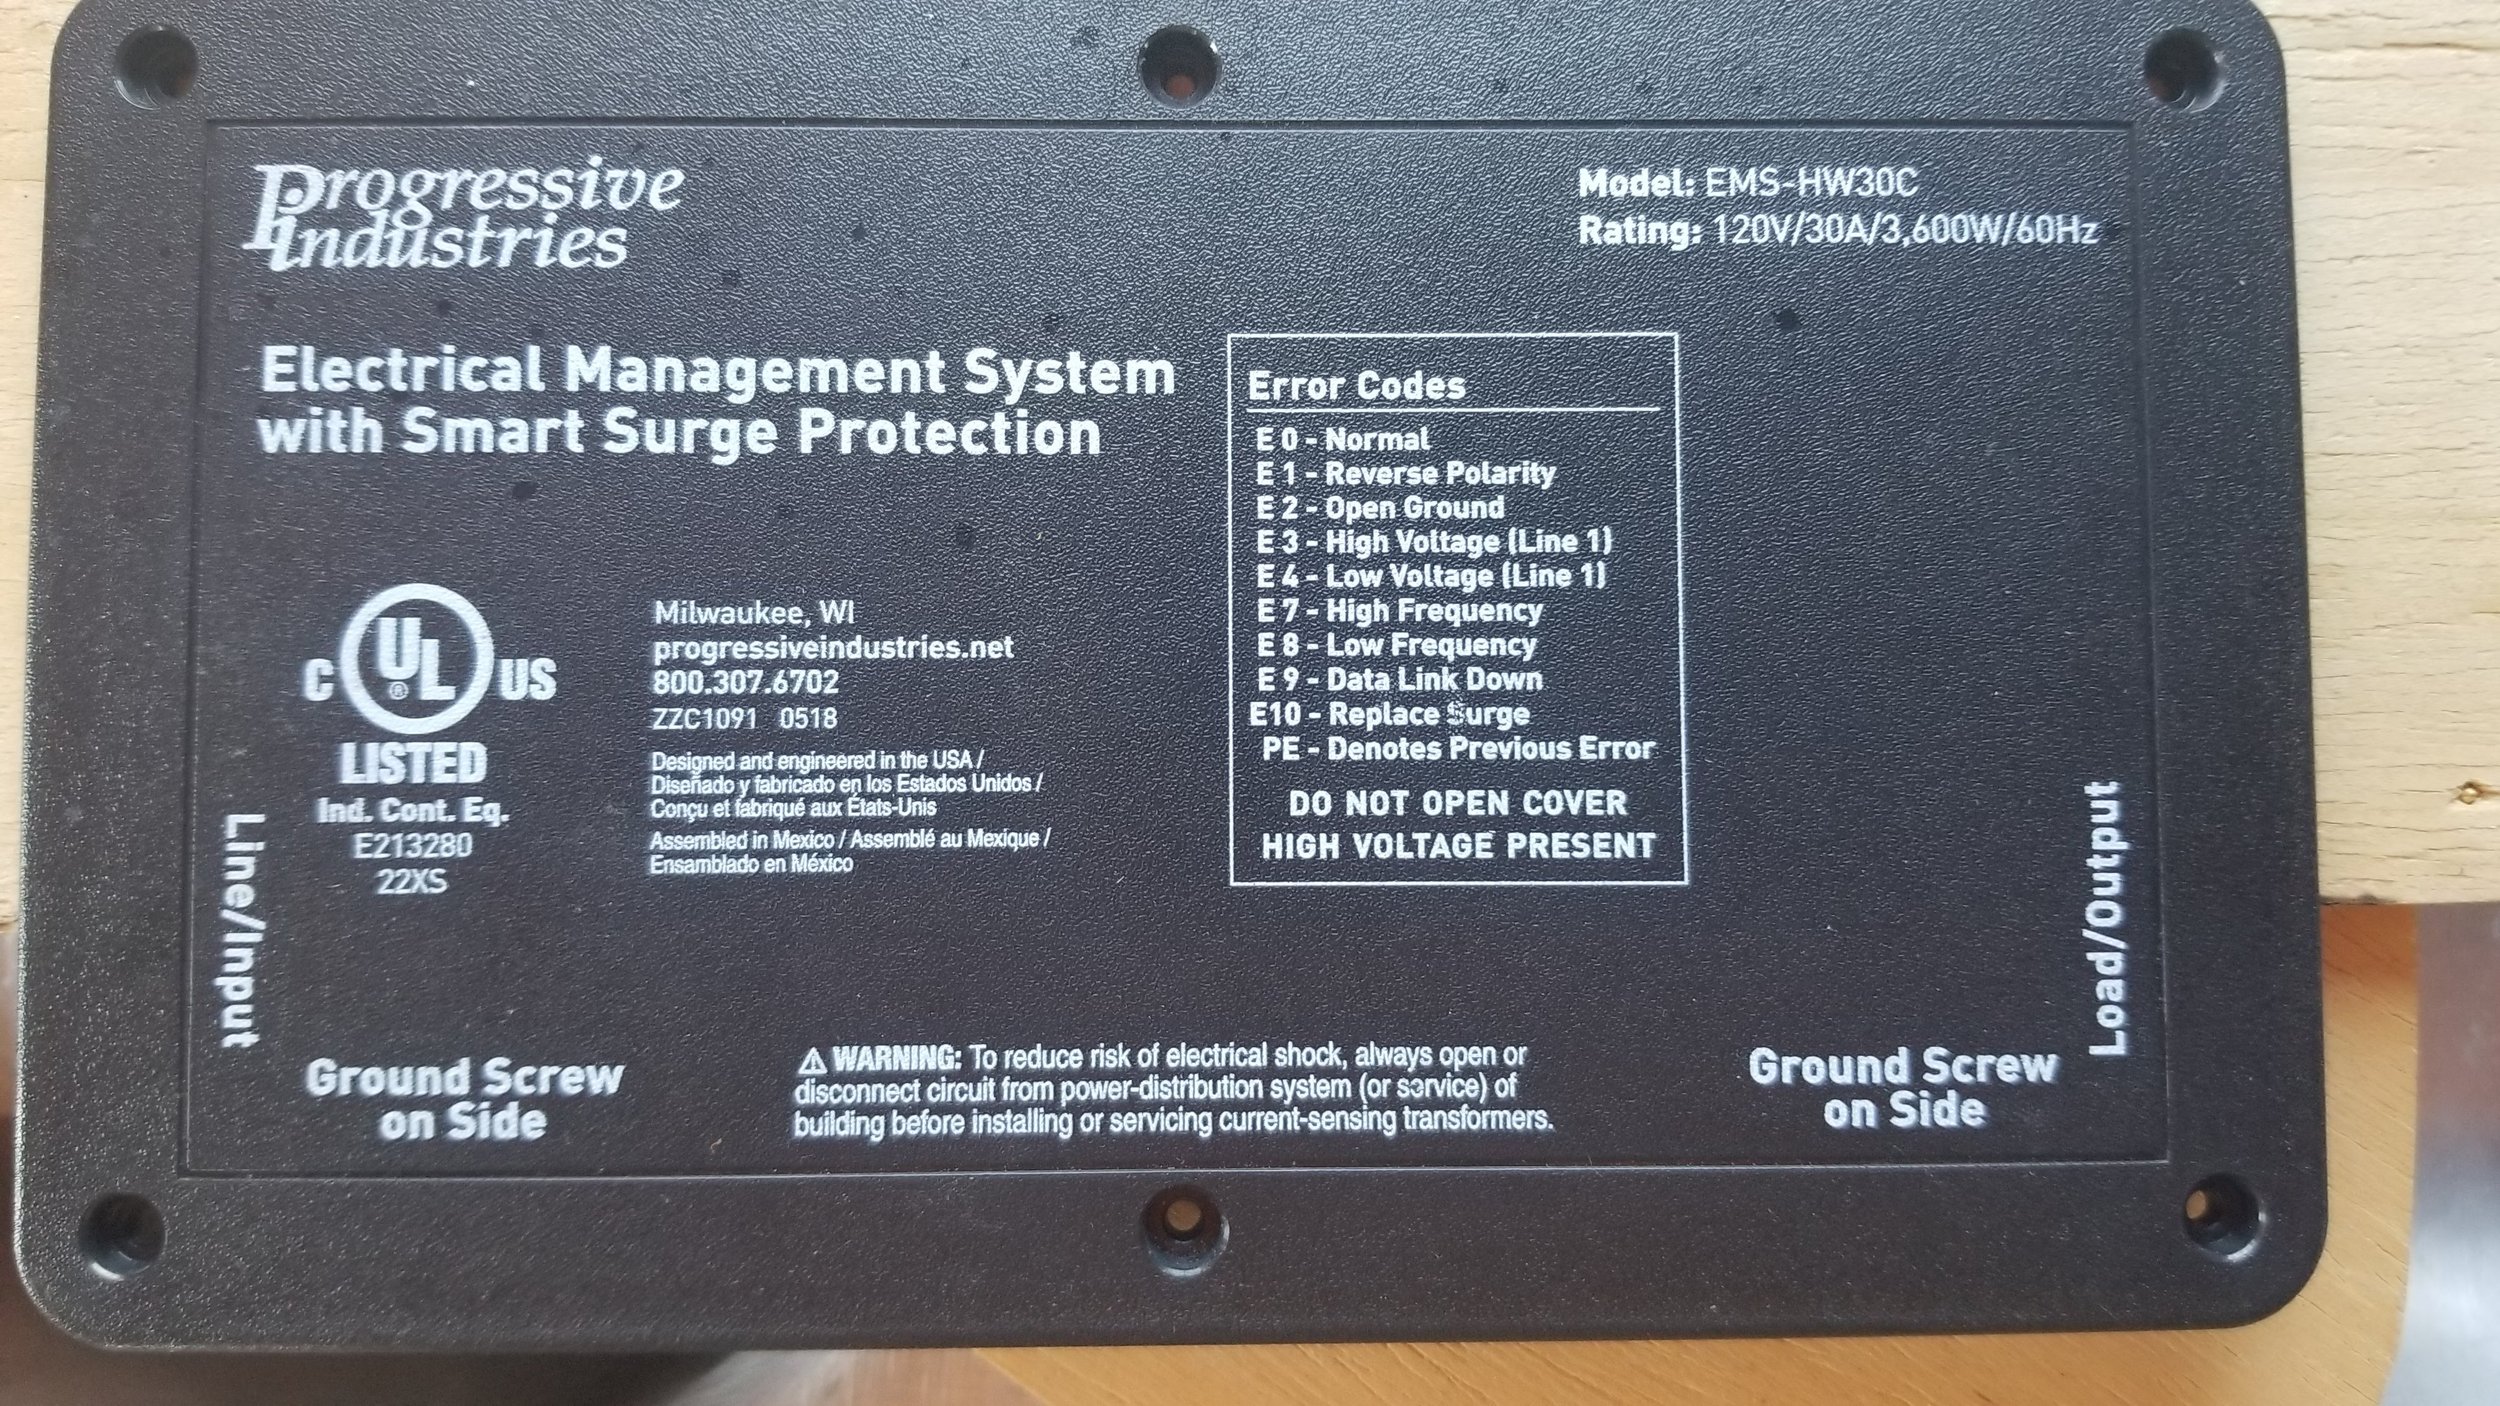
I decided to go with the hardwired Progressive EMS-HW30C unit 033
Progressive EMS-HW30C unit 034

Progressive EMS-HW30C unit 035
Progressive EMS-HW30C unit 036
Progressive EMS-HW30C unit 037

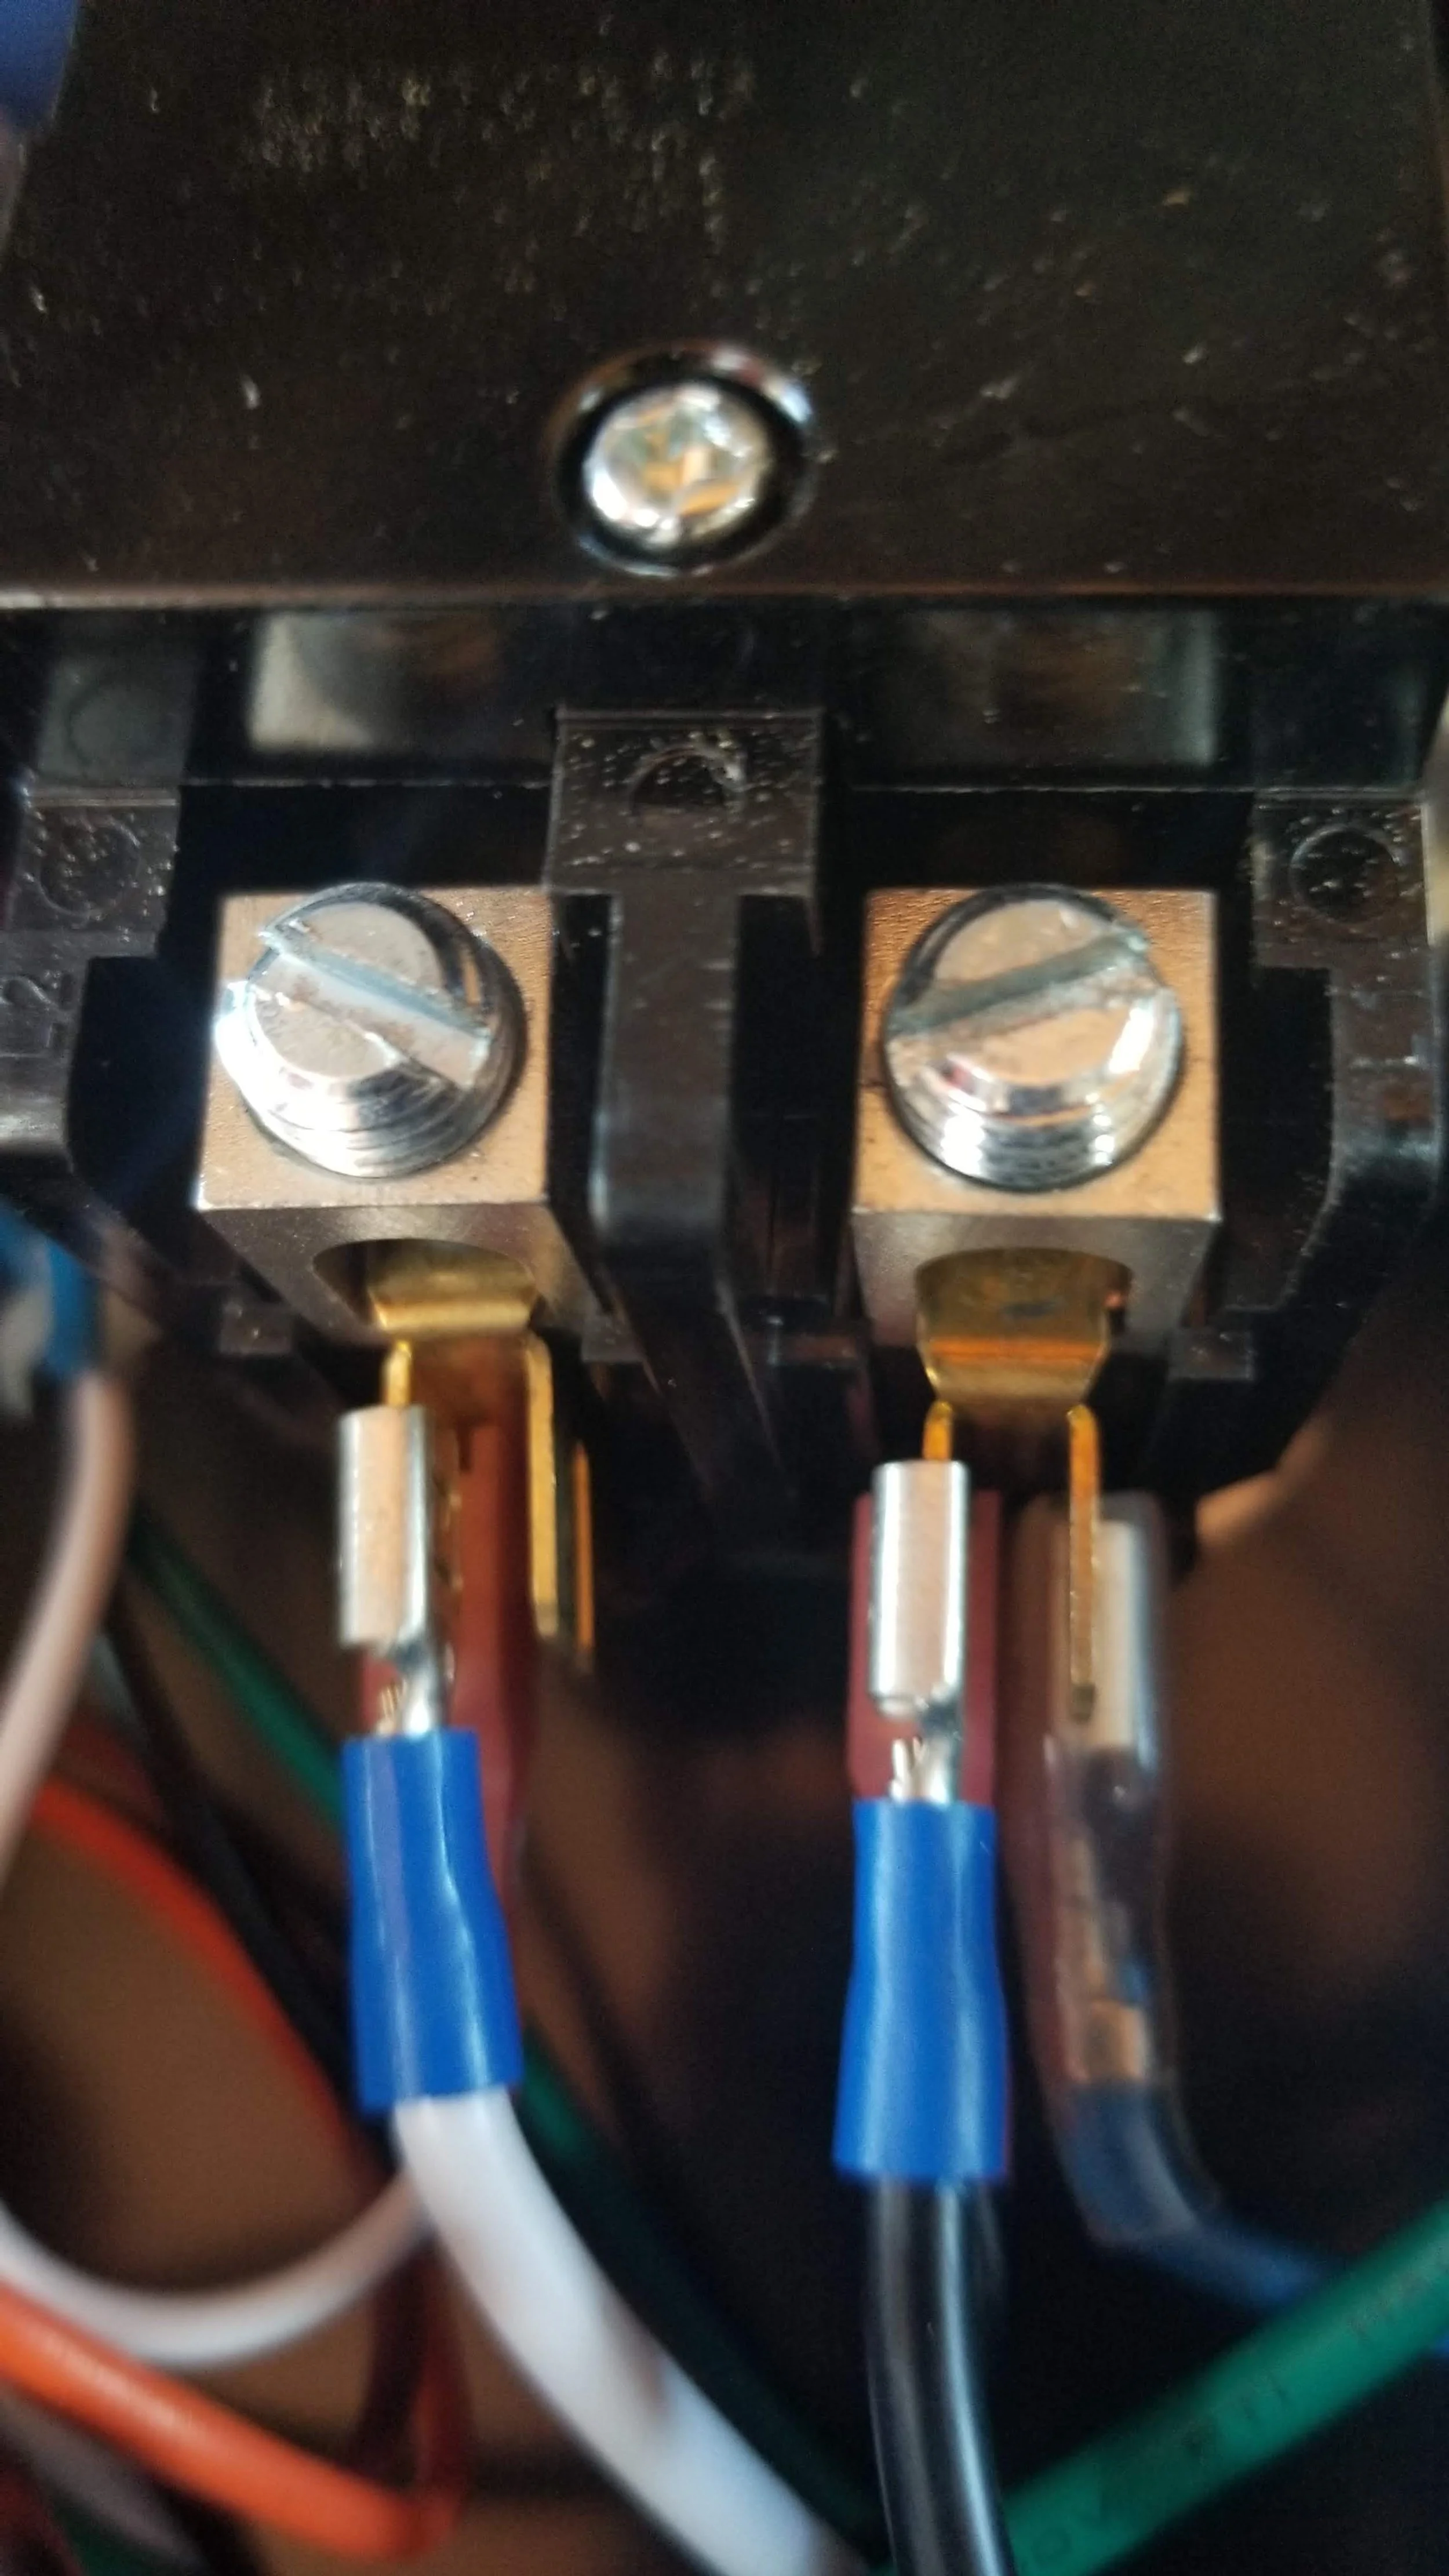
Progressive EMS-HW30C unit 038. The enclosure washer assembly was an upgrade that I found on YouTube.
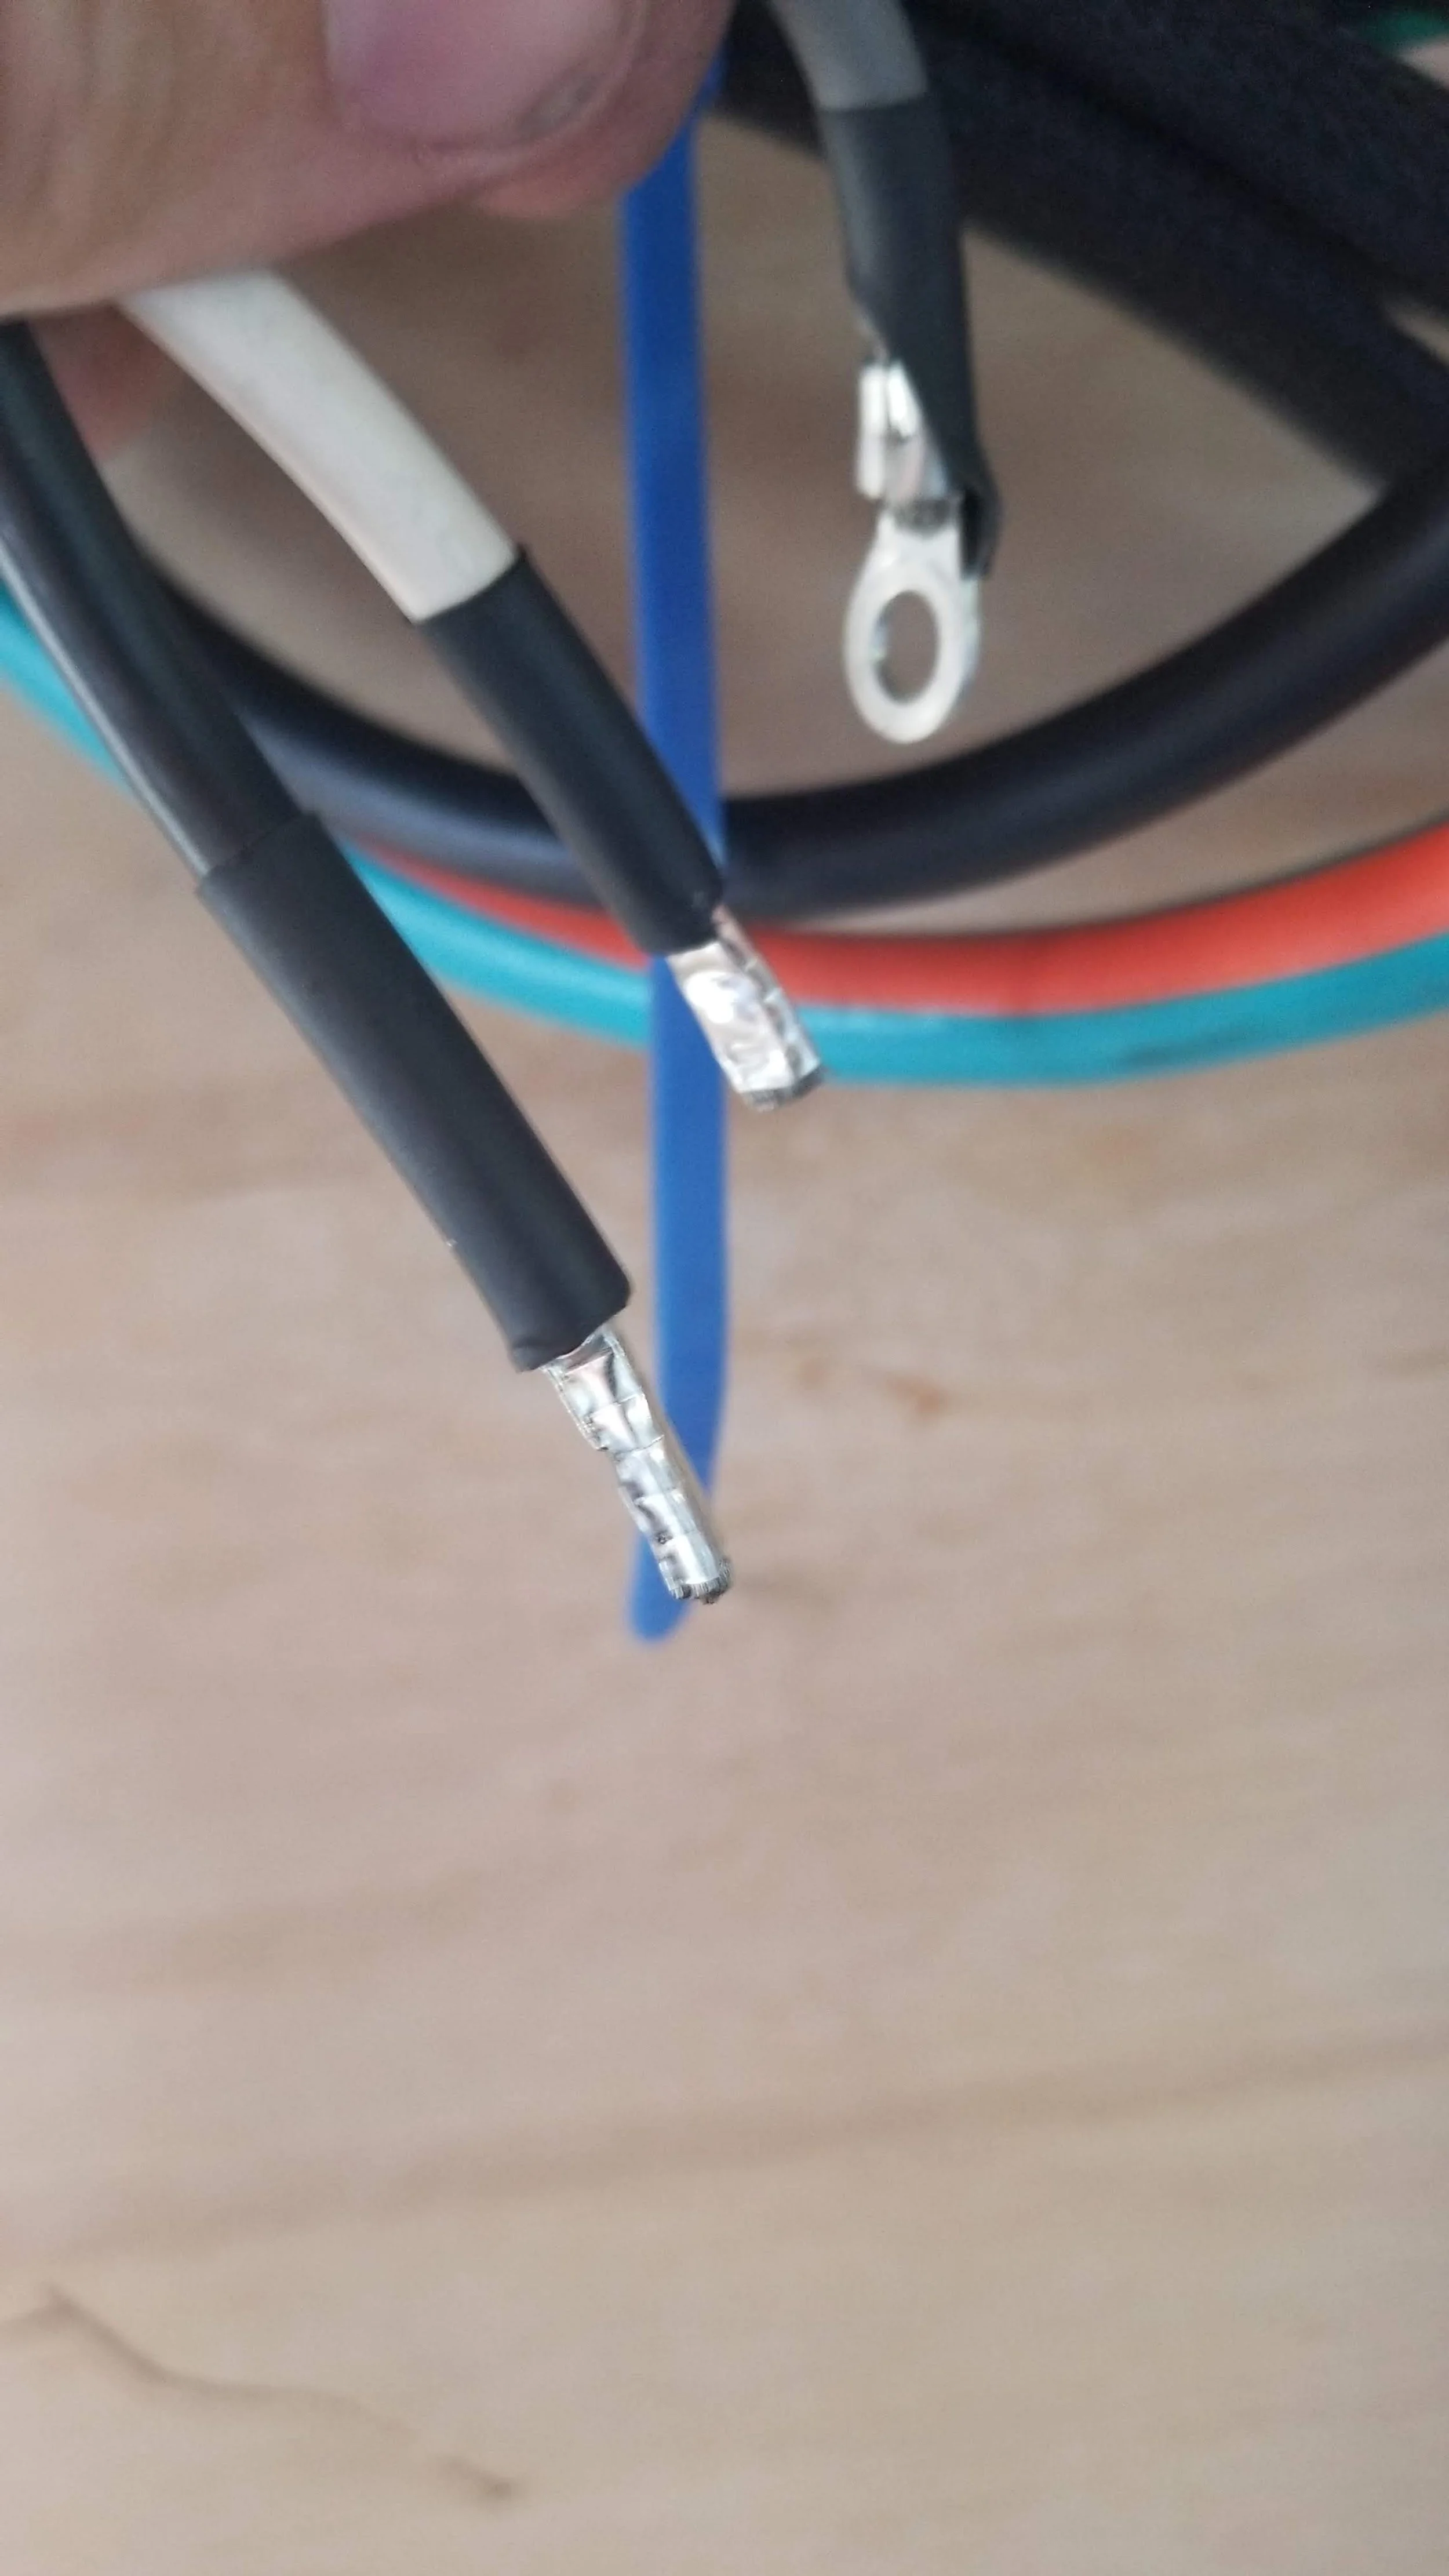
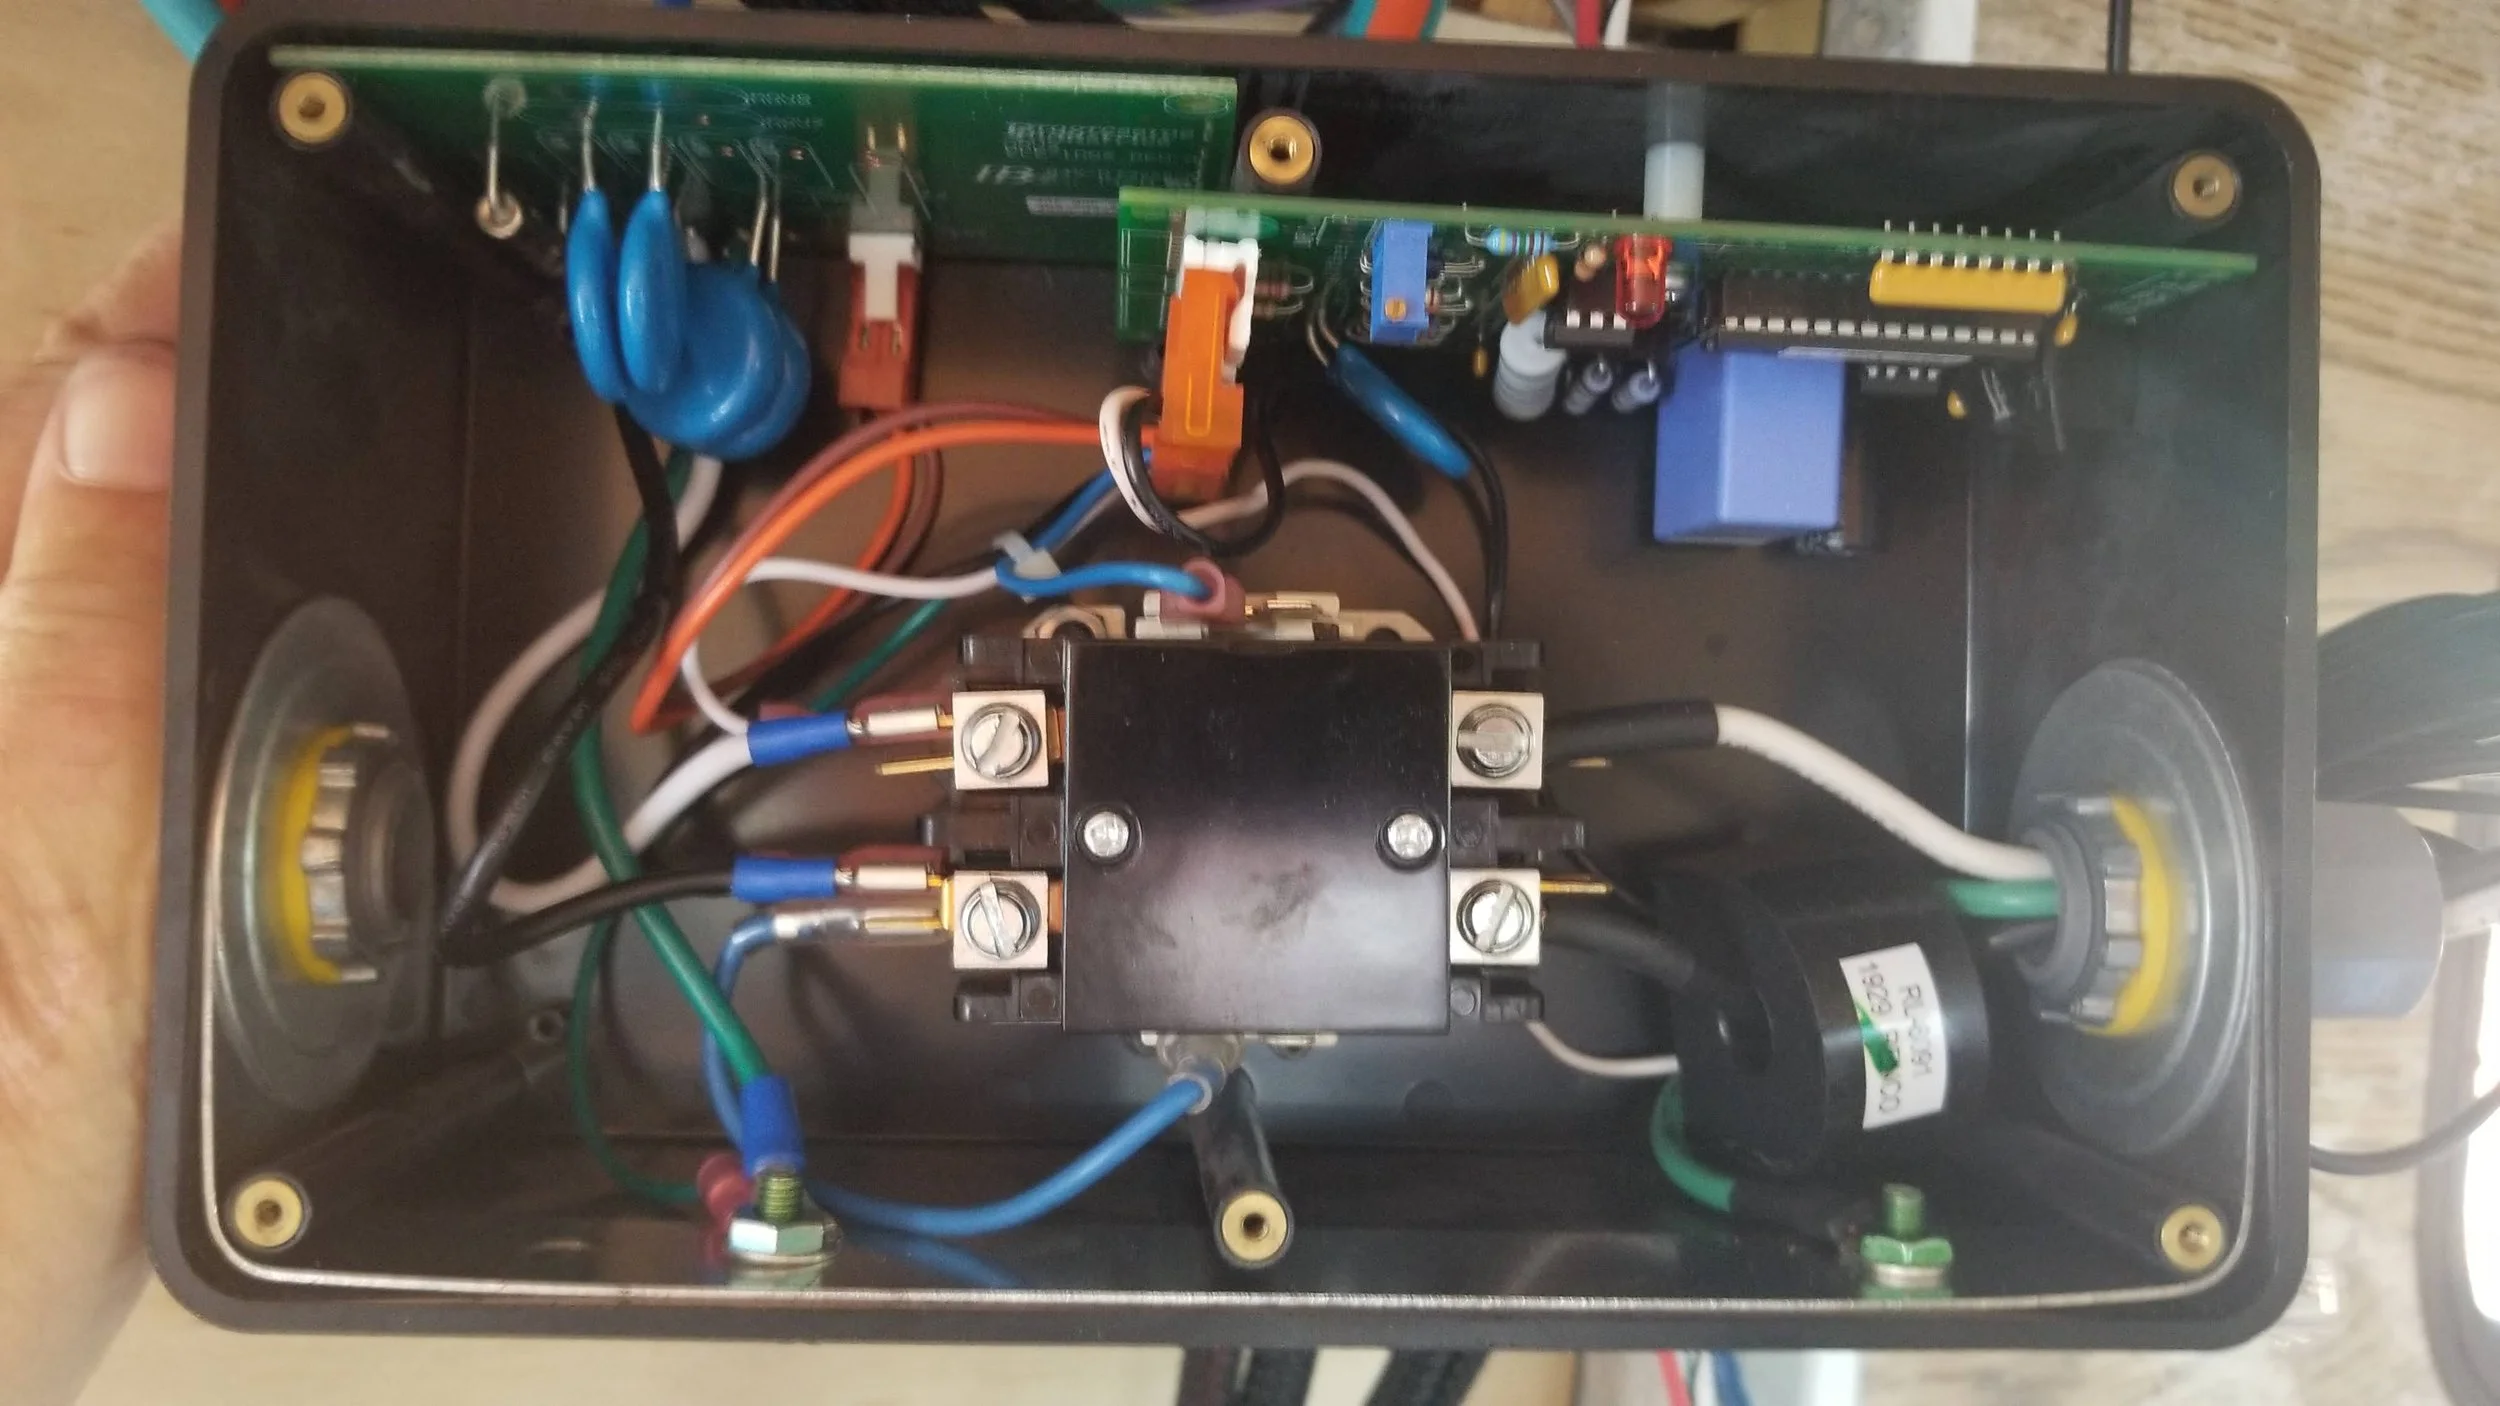
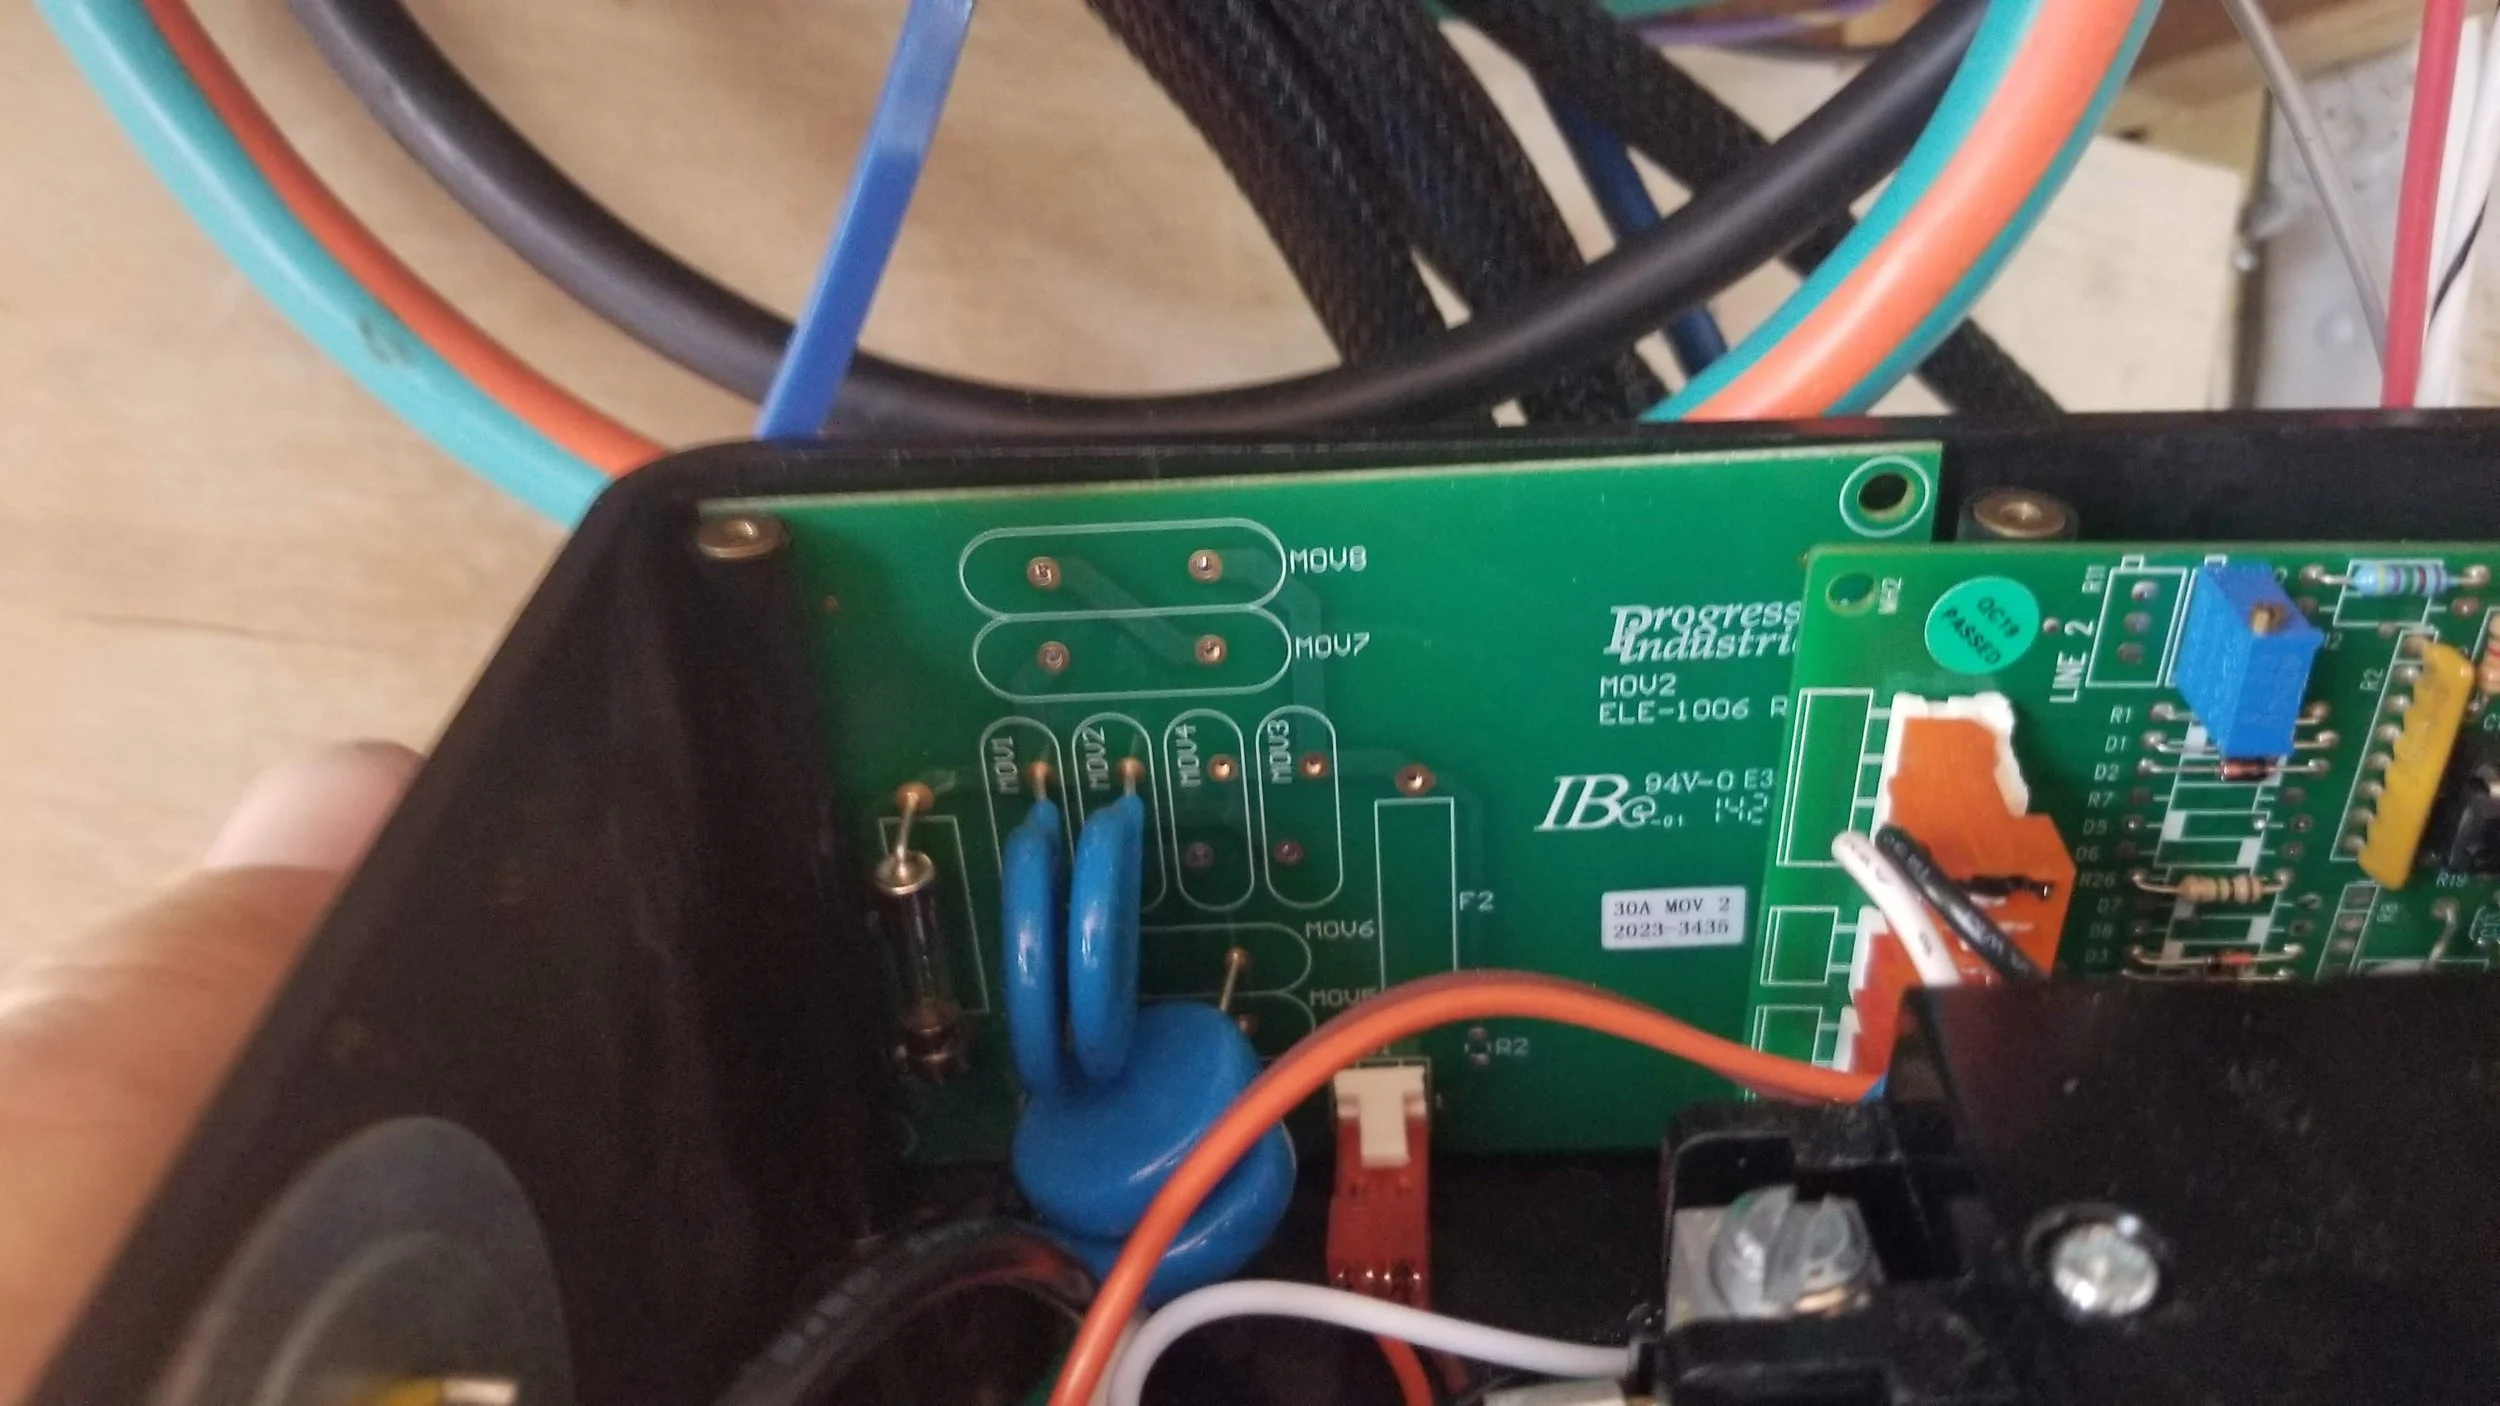
Internal Progressive EMS-HW30C 039. I used ferrules on all connections where applicable.

Initial mapping out of the Electrical dashboard 044

Dashboard - Fuse panel, rocker switches, MPPT monitor, Solar Emergency cut off, Iota charging indicator (shore power), Progressive monitor and Inverter remote ON/OFF switch (bottom right) 045
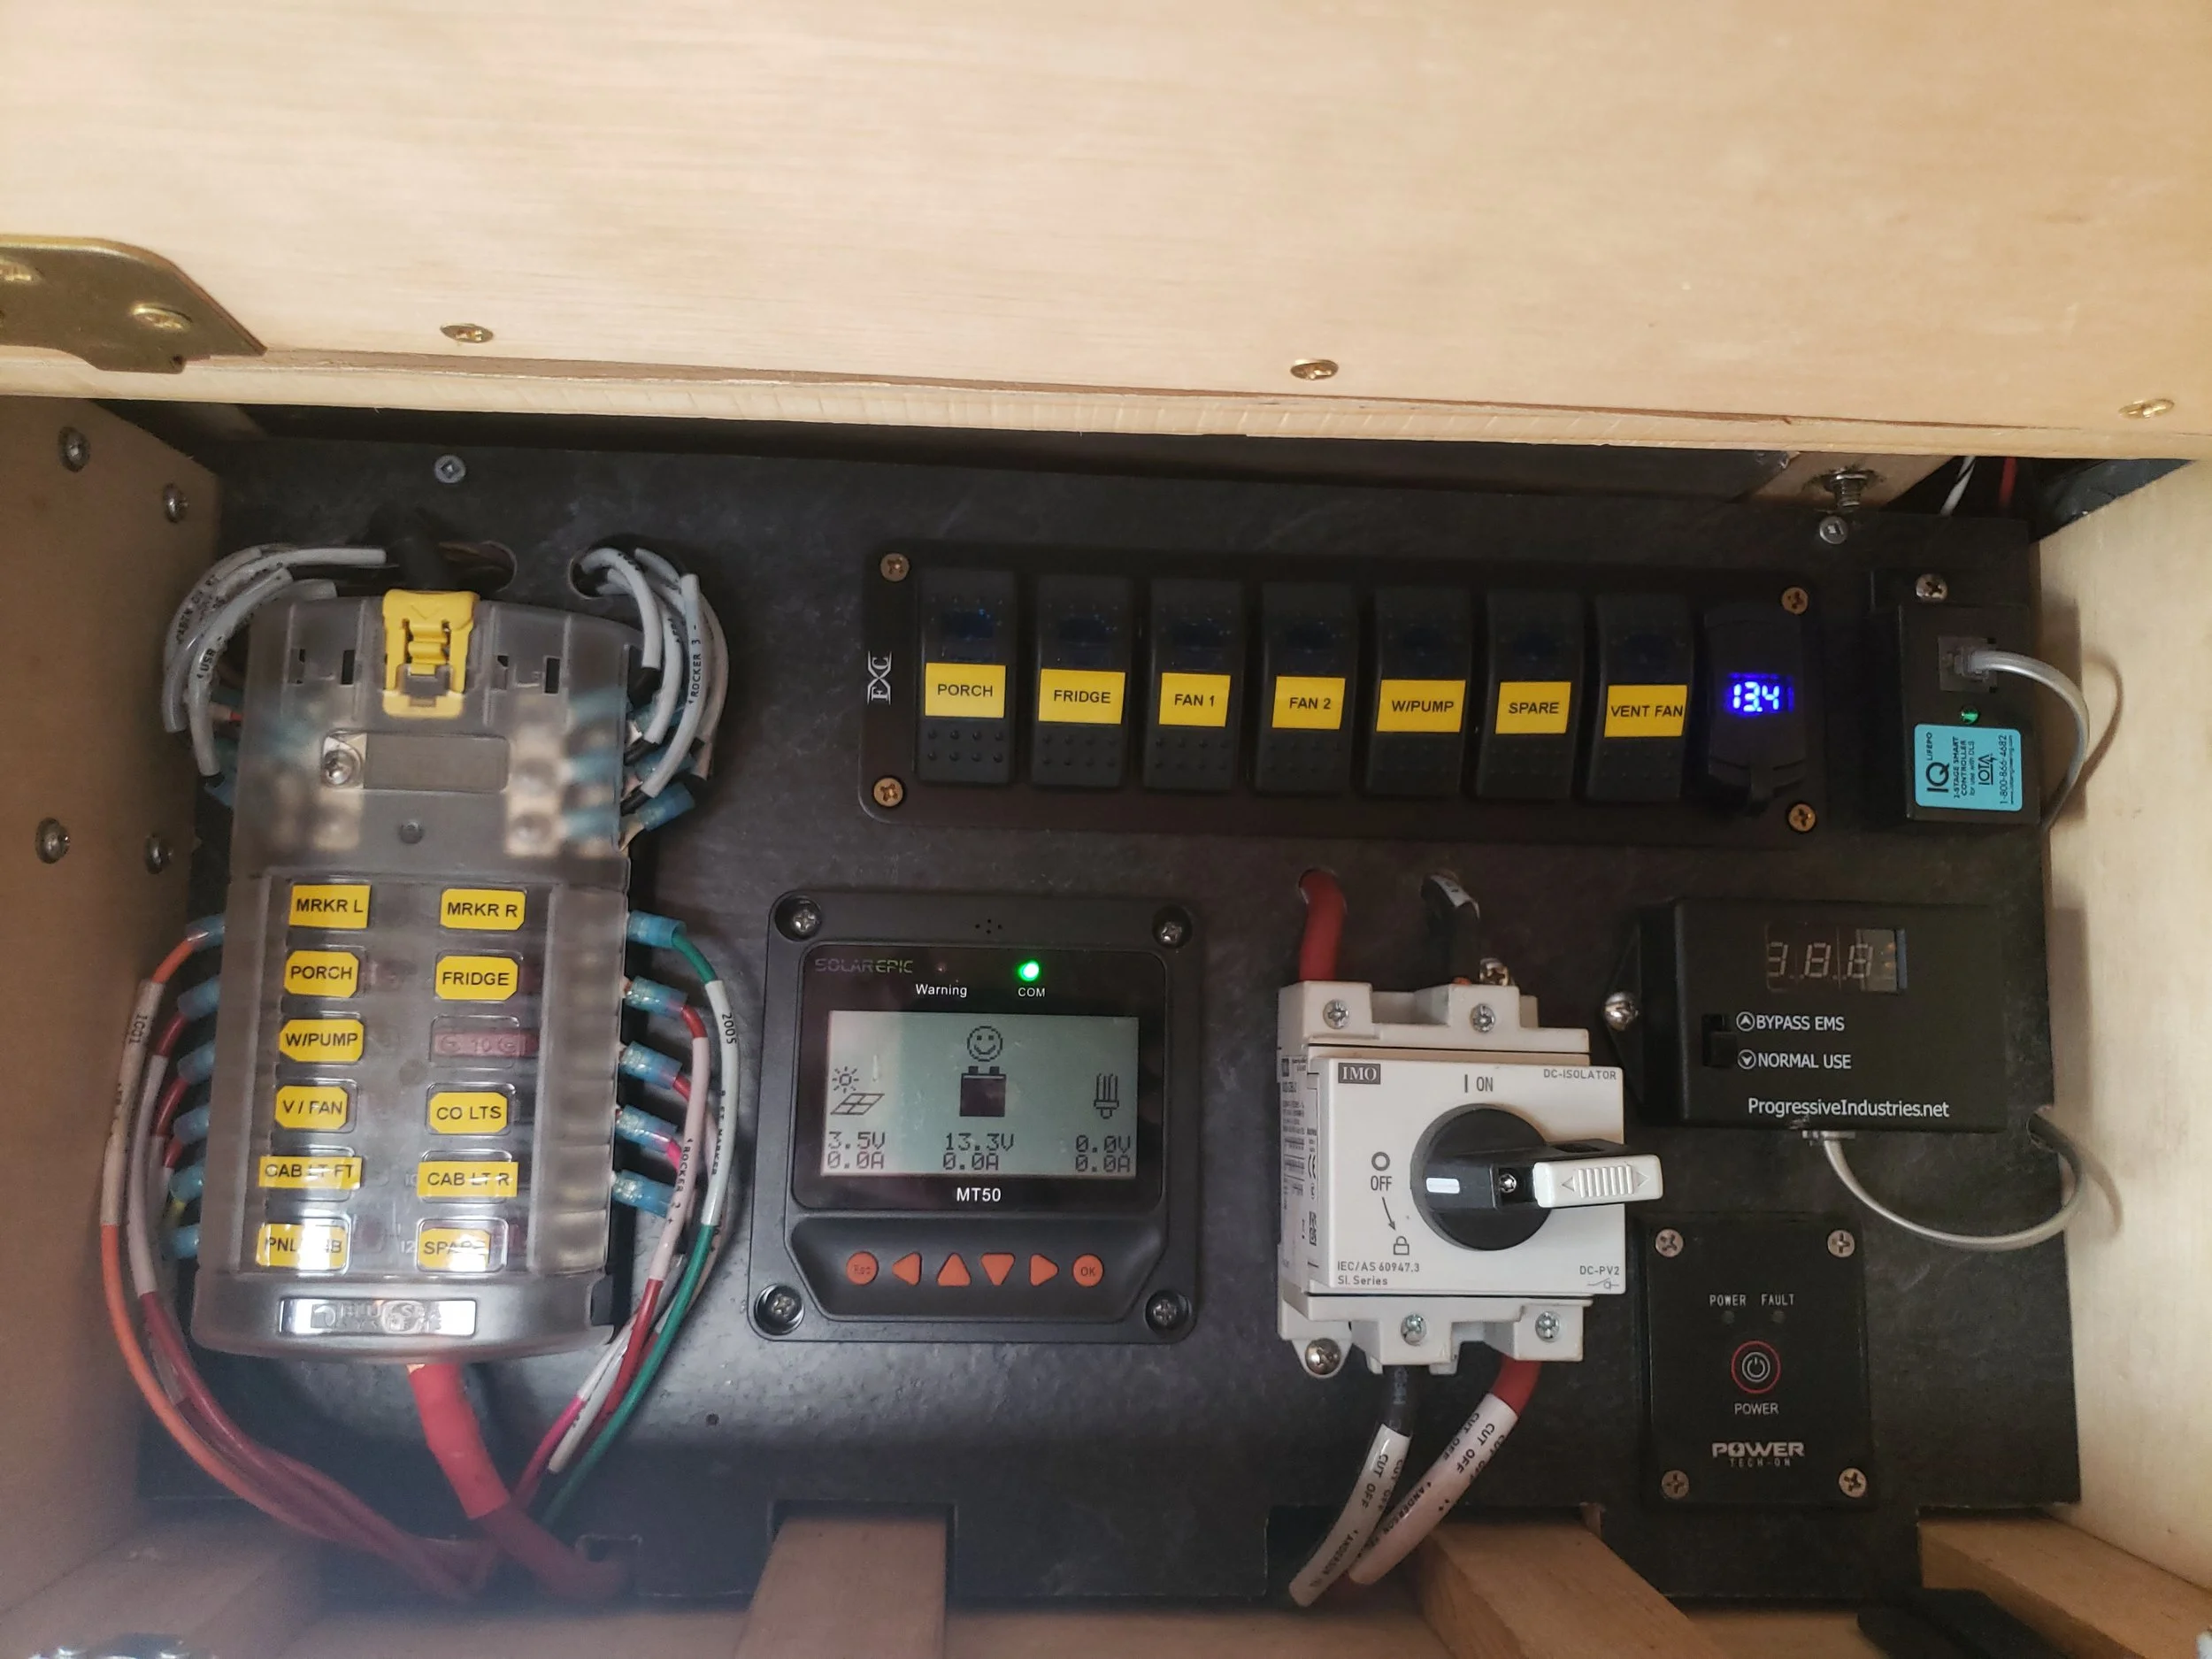
Dashboard - Fuse panel, rocker switches, MPPT monitor, Solar Emergency cut off, Iota charging indicator (shore power), Progressive monitor and Inverter remote ON/OFF switch (Zoom picture to see bottom right) 046
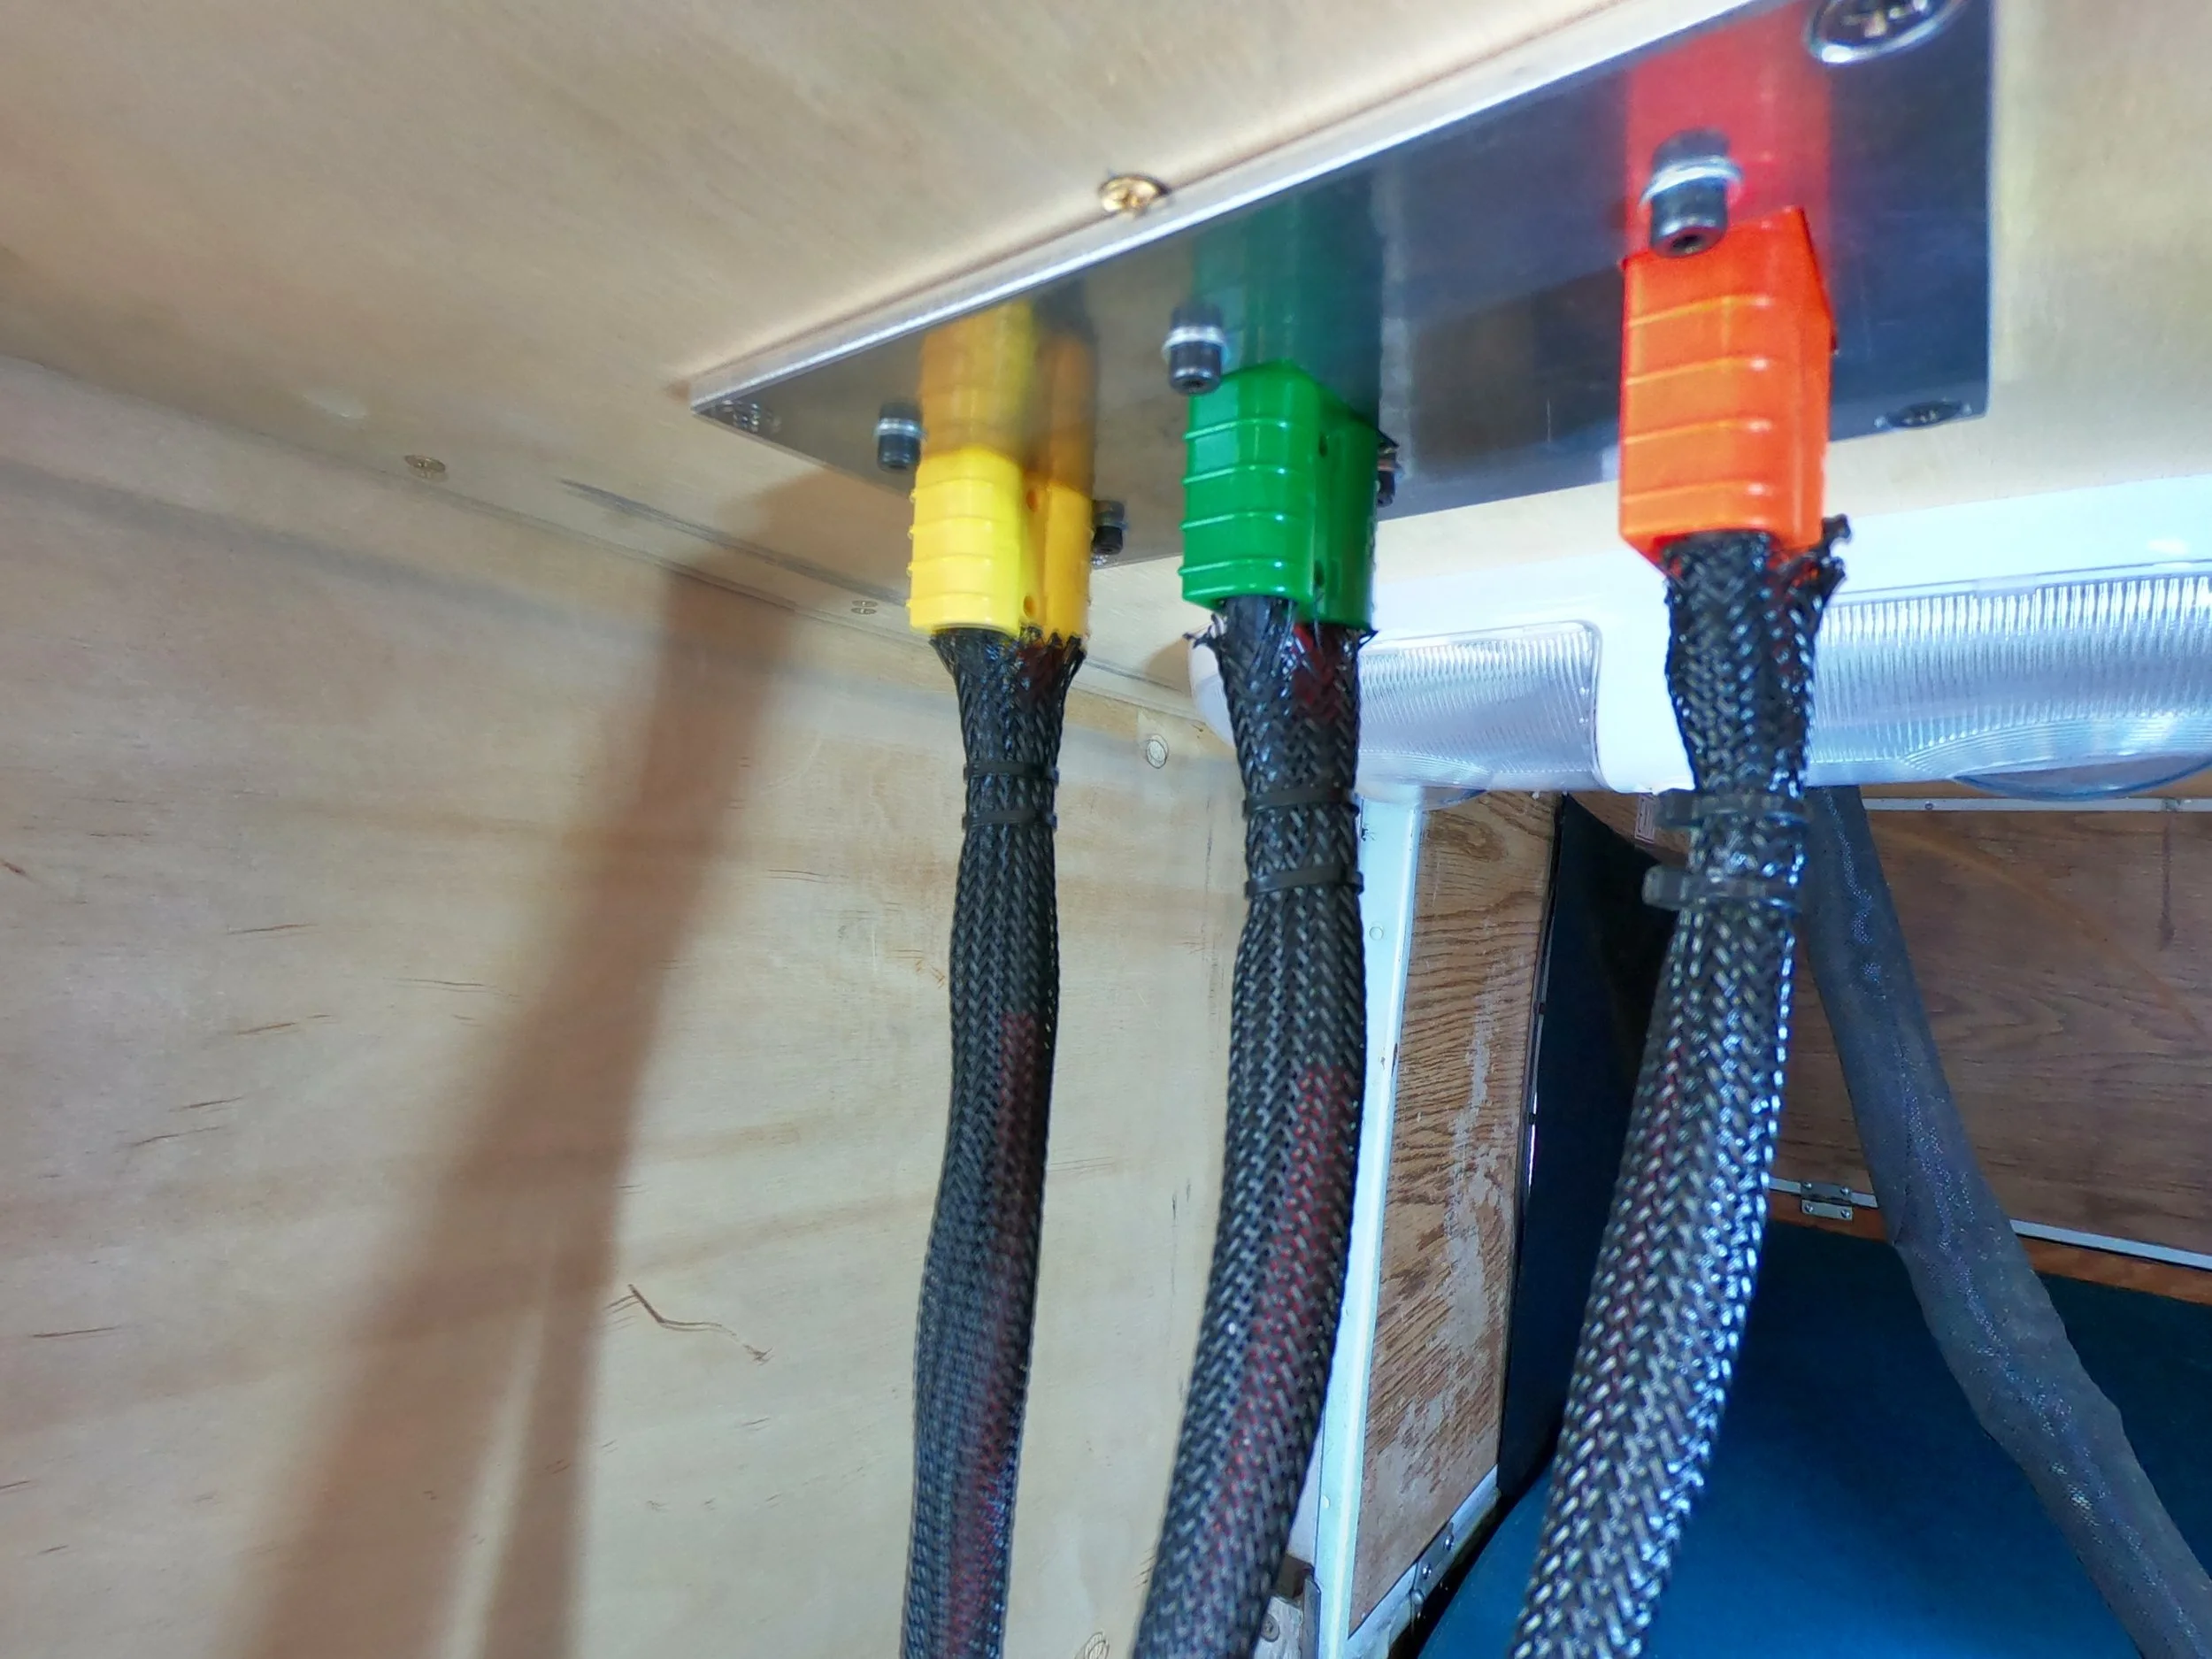
Umbilical's feeding the breakers in the battery area for Charger, Fuse, Inverter and Solar circuits 047. Custom panel to house Anderson connectors. There are cables that are enclosed in a fixed umbilical going up into the Dashboard area but they are Cat6 or 3 conductor power cords used for heavier circuits. I put all the critical circuits into the Anderson Connector panel and manual connect/disconnect when setting up or breaking down to minimize stress and prevent any potential shorting. Orange connector is the Charging circuit from a Shore Power connection which I rarely use.
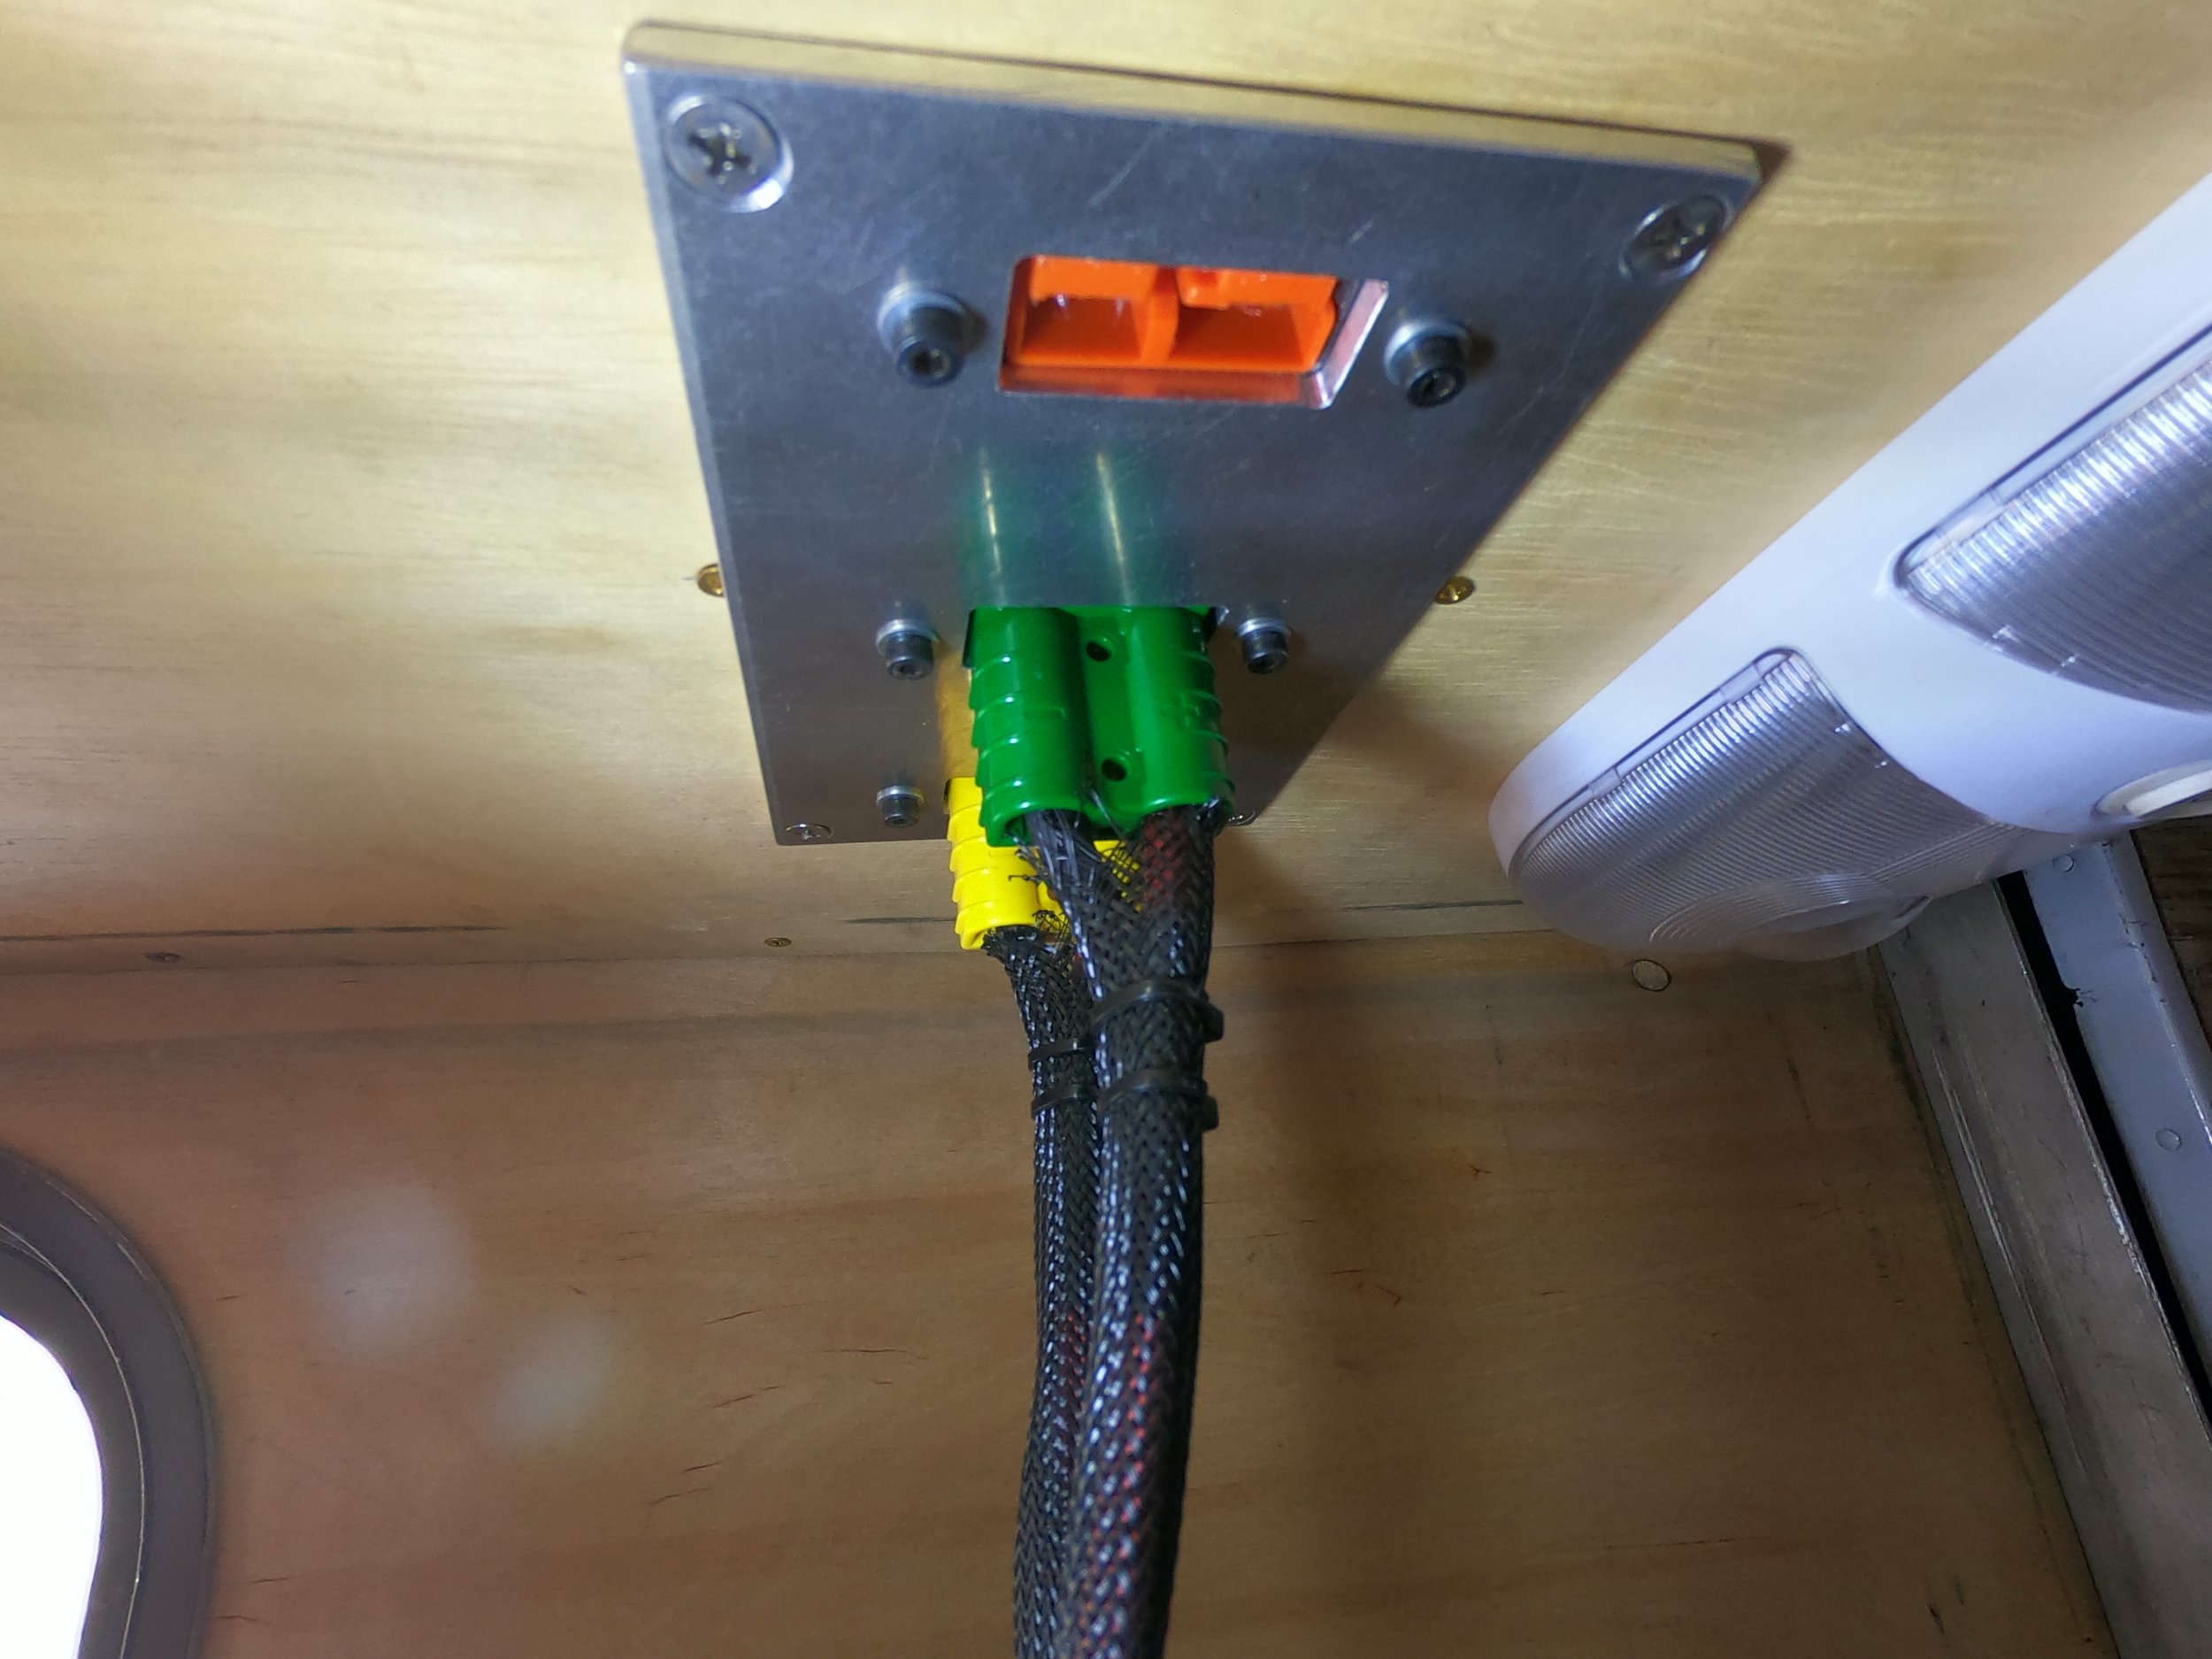
Umbilical's feeding the breakers in the battery area for Charger, Fuse, Inverter and Solar circuits 048. Upper mounting connectors are color coded (male/female) to the lower connector when you order.

Spare 3D printed Anderson connector mounting plates that are inside the cabinet area out of site along with spare Starlink mount adapter inserts that I carry with me 049
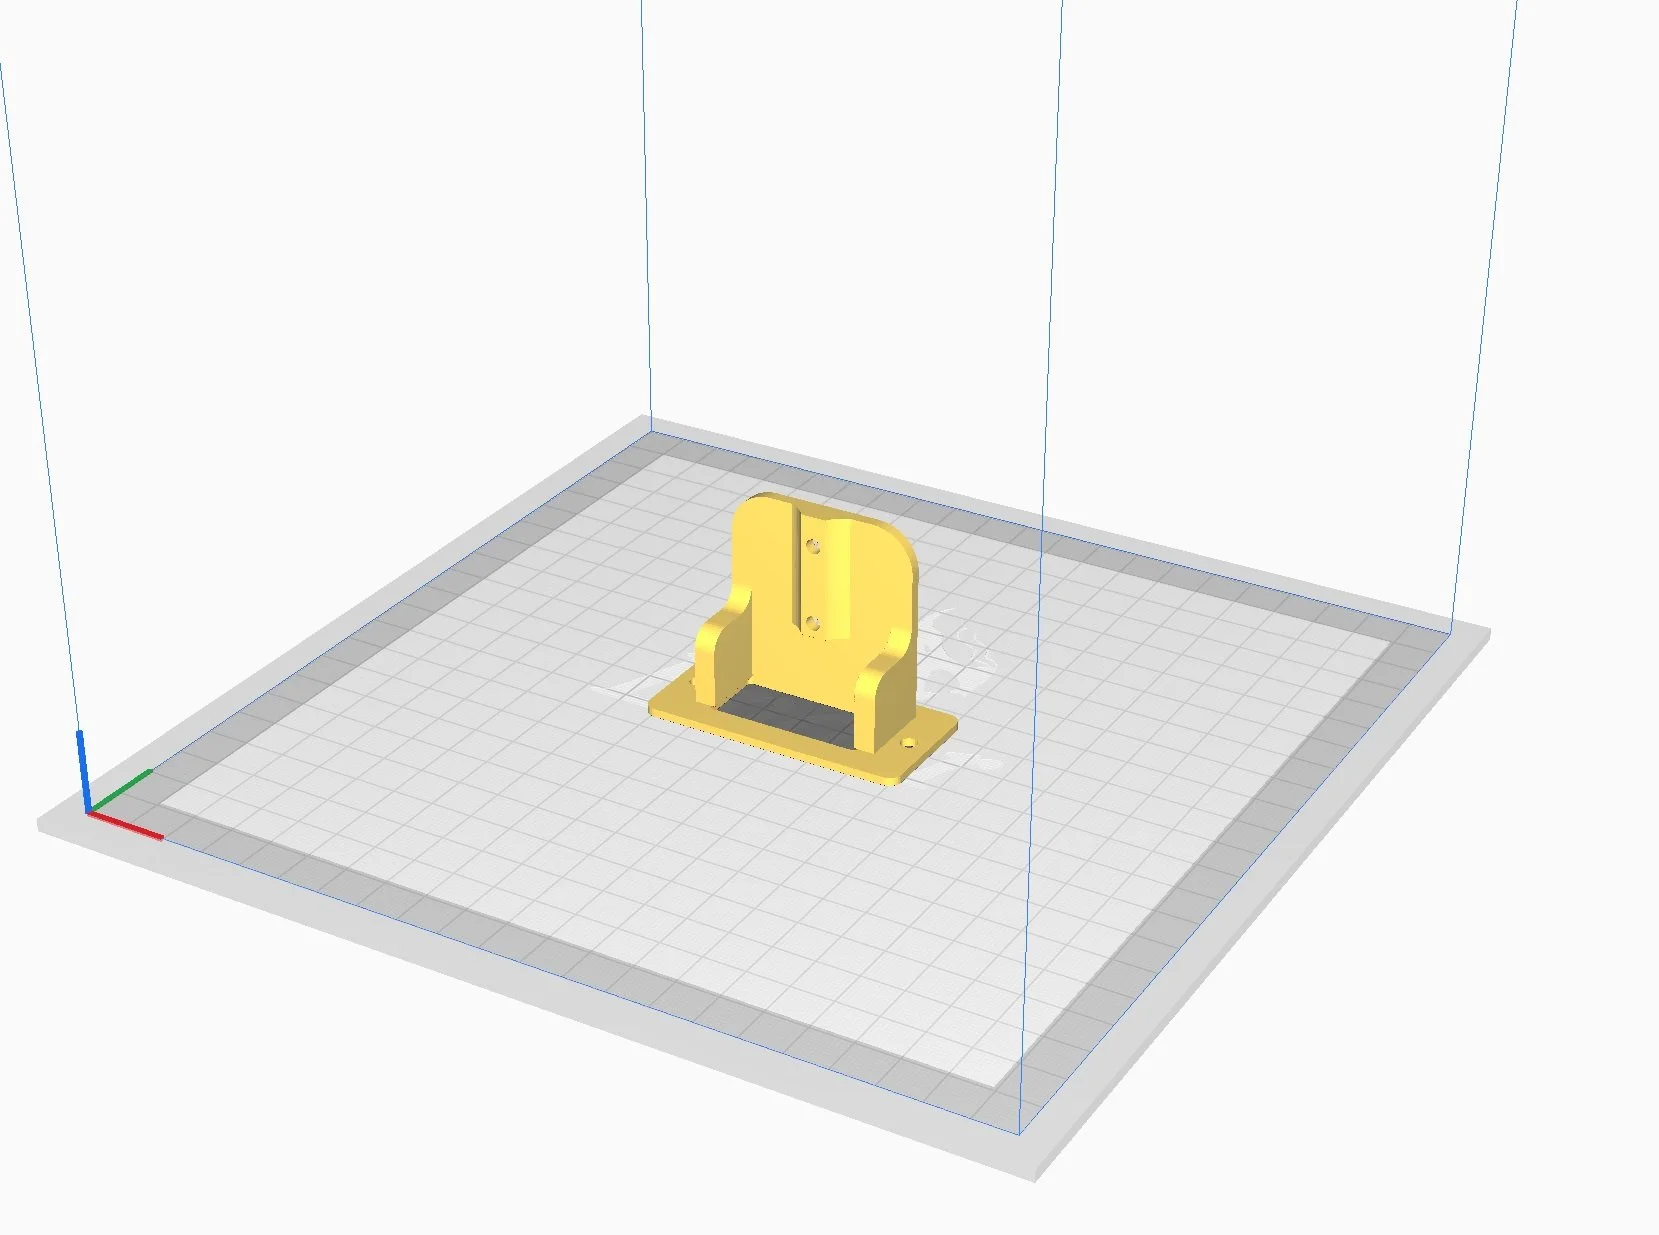
This is the Anderson connector STL image of the mount I found on thingyverse 050
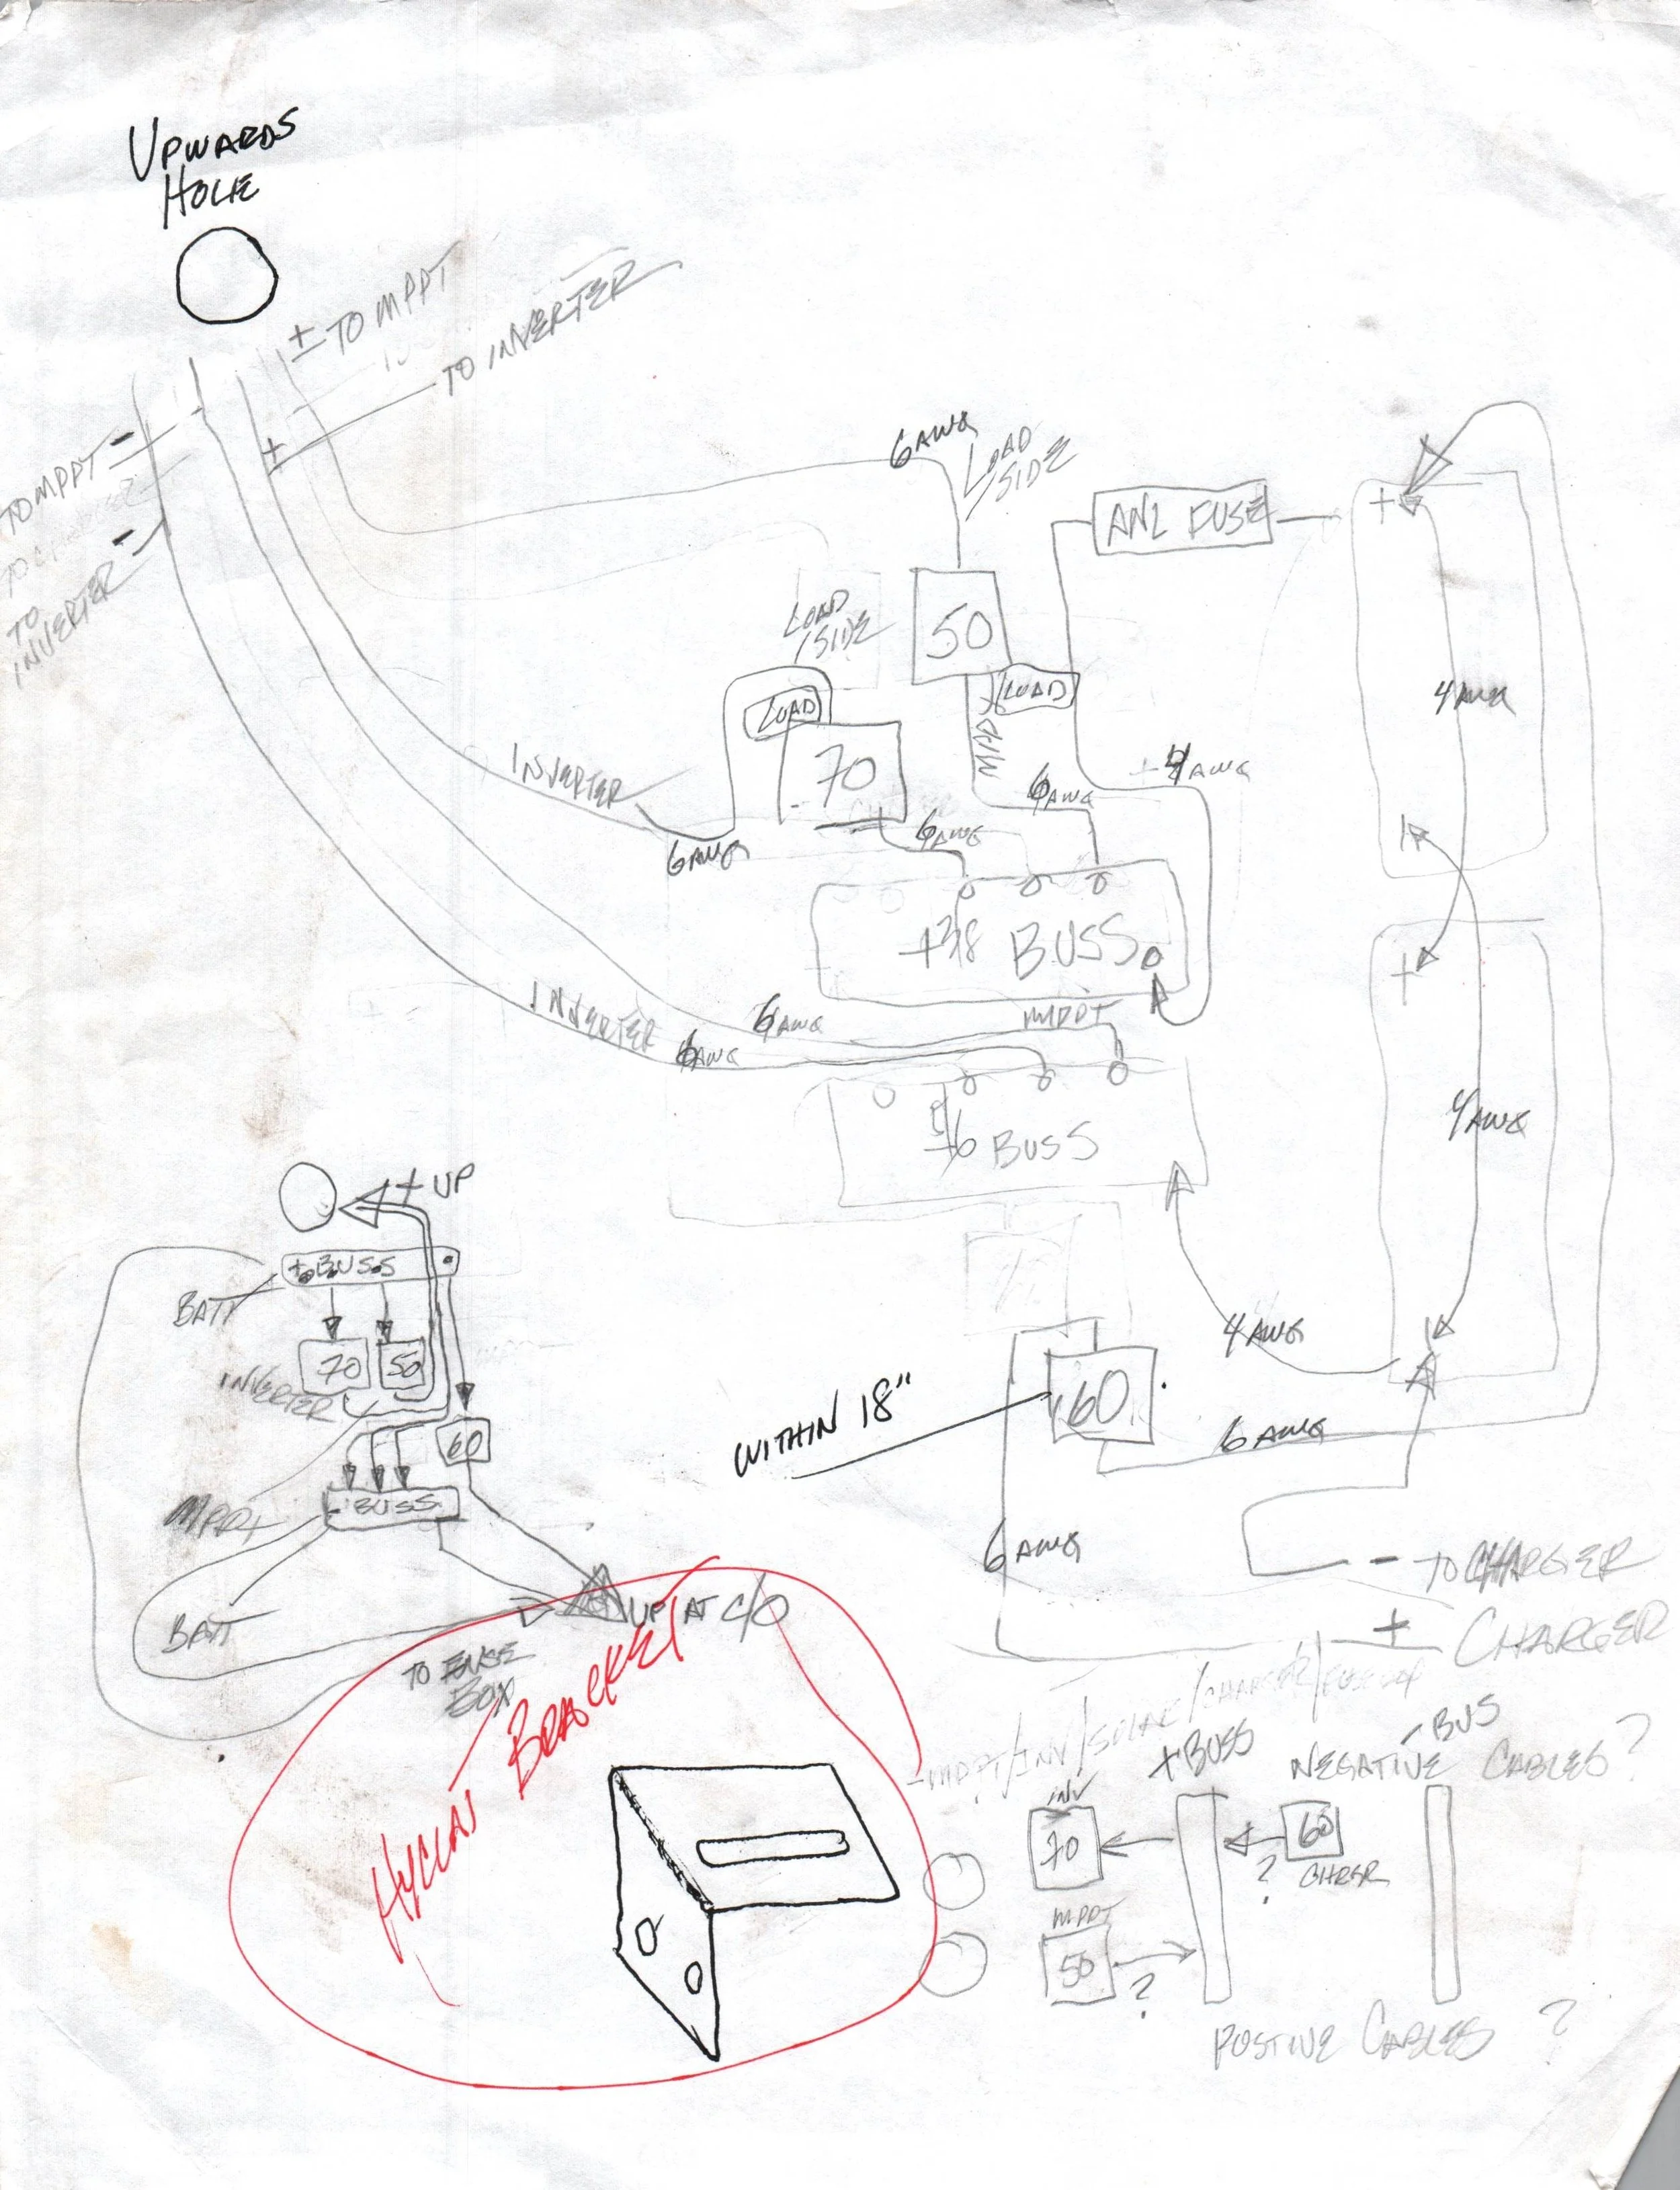
Very early on sketch of what I wanted to do. 051
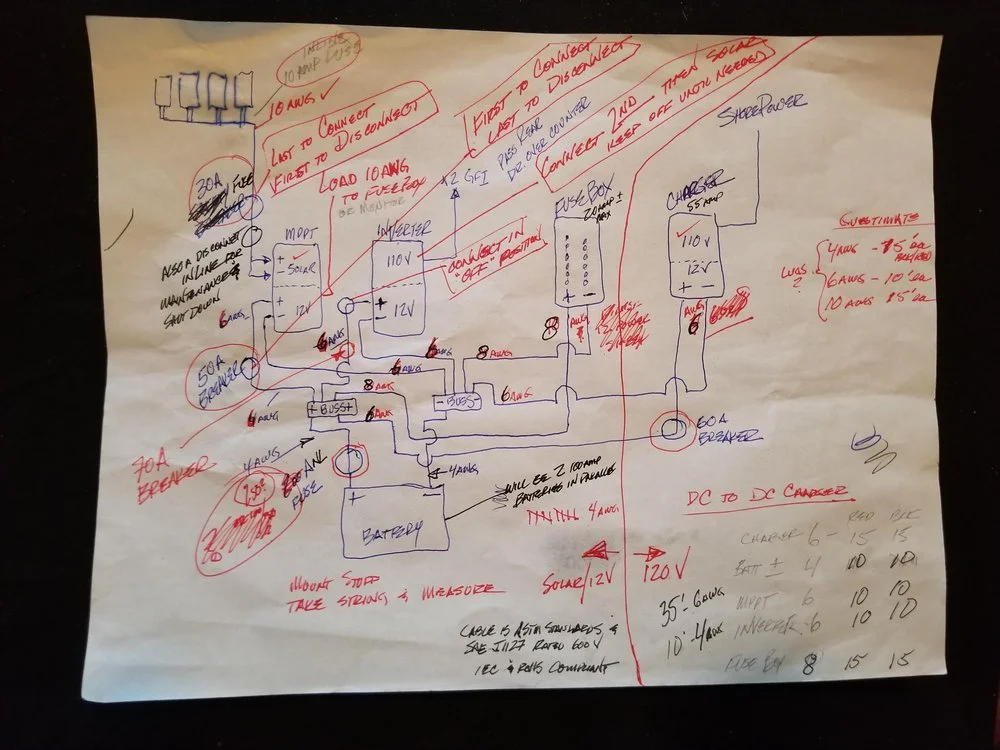
There's a few changes/additions even to this version 052

I wire listed cables into a spreadsheet and made labels. You can see some of these coming out of the Fuse Panel on the Dashboard 053

Generic gauge parameters 054

Generic gauge parameters 055
Generic gauge parameters 056
I ordered a 45 amp charger but the supplier sent me a 55 amp unit
IOTA
DLS-55 12V 55A Power Converter
IQ-AGM IQ4 Smart Controller - Tailored Absorption Charging for AGM Batteries (had a Gel battery at the time)
IQ-LIFEPO IQ4 Smart Controller - for Lithium-Iron Batteries with BMS (upgraded to Battleborn 100AH Qty. 2)
Progressive Industries
I also wanted a hard wired EMS-HW30C RV Surge & Electrical Protector as opposed to the portable RV Park post type.
Dashboard
I wanted to be able to turn on just about everything manually as well as having a LED indicator that it was ON.
Modular DC Switch IP40 2 Pole 1 String 32A 700VDC Lockable Lever
Umbilical Connectors